
Drill Press Table 2.0
Tools & Materials:
Palm Router https://amzn.to/37XCtJM
Wood Glue https://amzn.to/3dVtxsu
18 Gauge Finish Nails https://amzn.to/2ZVWv2T
Delta 36-725 Table Saw: https://amzn.to/3reIucP
Miter Saw: https://amzn.to/307gWtW
DEWALT Cordless Jigsaw: https://amzn.to/31ewgFw
F-Clamps: https://amzn.to/2ZXSYV9
Jointer: https://amzn.to/3GWiJ9o
Tung Oil: https://amzn.to/3HmRDIz
Shellac: https://amzn.to/3nn0eU1
We are viewer/reader supported. When you buy through our links, we may earn an affiliate commission.

I first get the measurements from my existing drill press table as I want the new table to be the same size. This table will be roughly 16” deep and and 20” wide.

I then use my table saw to cut 1/2” thick MDF to length and width. I cut a total of 3 pieces to this dimension. They will later be laminated together to make a 1 1/2” thick table top.

I now find center of one of the boards and make a 4” square around the center of where the drill bit will land. This area will be cutout so that a sacrificial insert can be used and replaced as needed.

I next use a jigsaw to cutout the 4” square.


I use some Titebond Original wood glue to laminate the 3 pieces of MDF together and let the glue dry.

I take the top to the drill press and lay it on the existing table where I want it to be. Then, I use a pencil to trace the existing table openings onto the bottom of my new top.

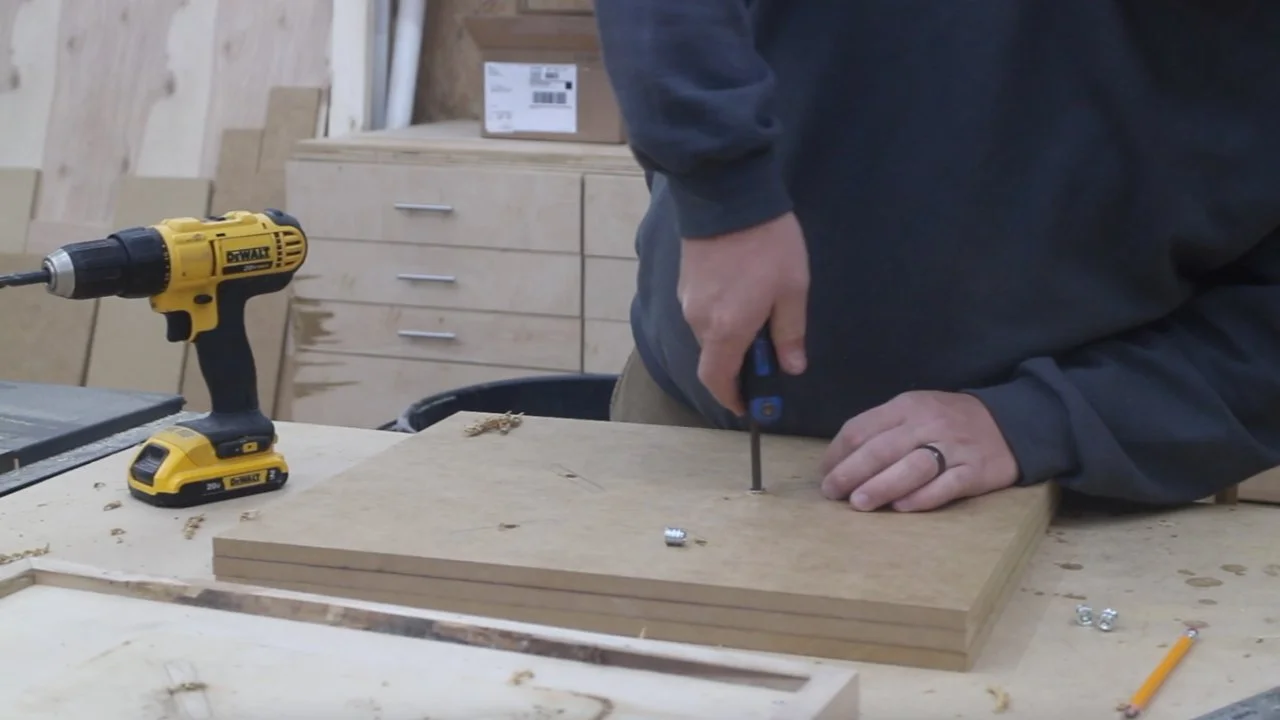
Now I drill a pilot hole at each of the marked areas and use a threaded wood insert and an Allen wrench to put the inserts into place.


The next step is to mill down some dark walnut with the planer and jointer.

I use my table saw to rip down the walnut to 1 1/2” to match the total thickness of my table top.

At the miter saw, I cut the side pieces to length. I do not cut the front until after the sides are installed so that I can ensure the front piece is cut to the exact length I need.

I glue the walnut trim pieces to the side of the top and tack them in place with brad nails. I measure and cut the front trim piece and repeat this process for assembly.

I now give the edges a 1/4” roundover using my palm router.

I give both the walnut trim and the MDF top a light sanding with 220-grit sandpaper before finishing.


I now place my table on the existing drill press table and use hex bolts to screw through the existing table from the bottom and up into my new table into the threaded inserts.

I now put the 4” square sacrificial insert into it’s place and this project is now complete and ready for use!