
Standing Computer Desk

This standing computer desk becomes a better solution for housing my laptop, monitor, and computer accessories needed to run the CNC router and laser cutter in my shop!


A full 4x8 sheet of plywood is a little big for my table saw when trying to cross-cut. So I use a large square and track saw to cross cut the plywood into the pieces needed for this project.

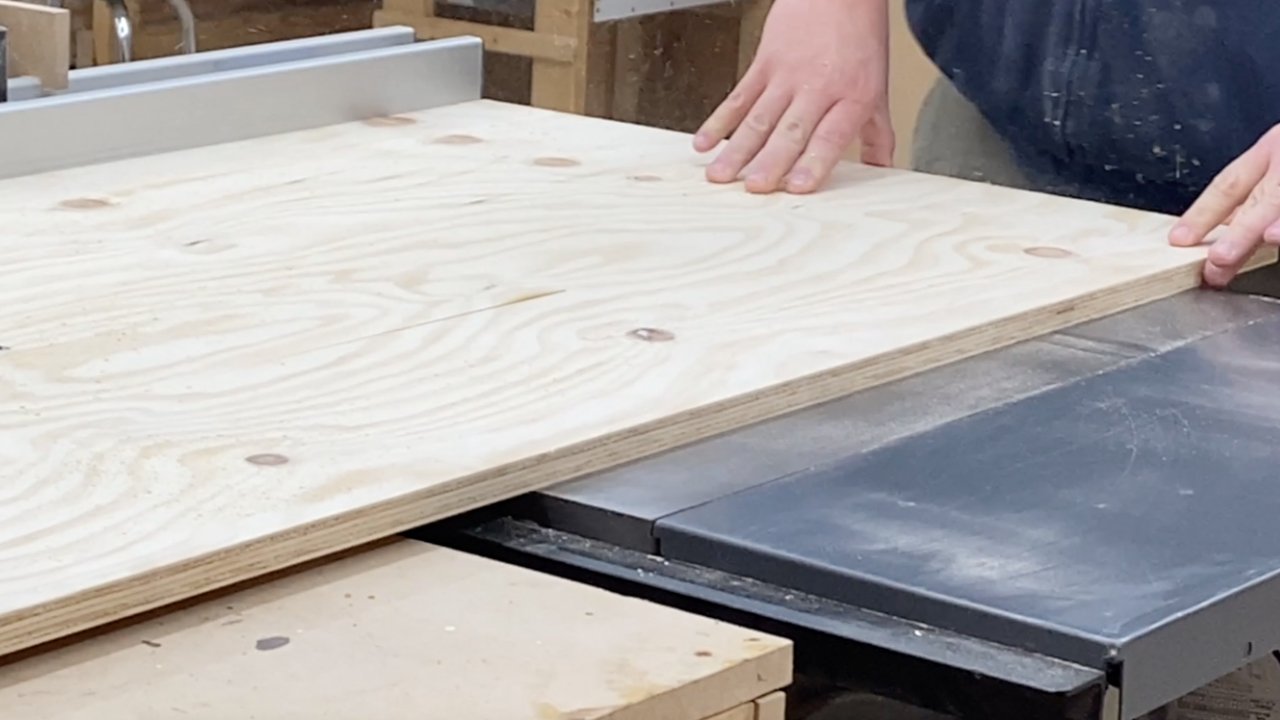

I use my table saw to rip down the pieces to final width and use my miter saw to cut the pieces to final length.


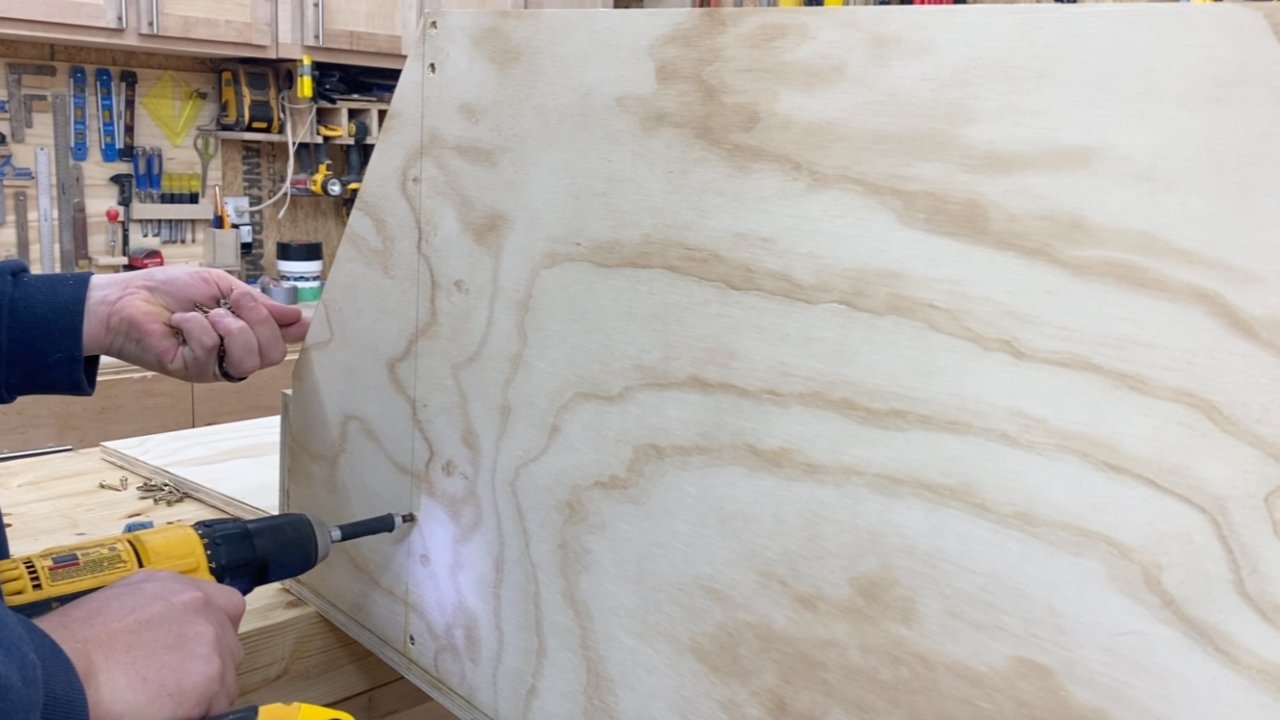
I layout the angle on the front face of the cabinet and cut the angle. You can do this cut with a taper jig, jigsaw, or track saw.


I apply wood glue to the edges of plywood where needed, and begin assembling the sides of the cabinet to the back piece with wood screws.

I install the bottom piece and top piece and complete the assembly of the cabinet carcass itself.


I add the shelf pieces with wood screws, installed through the sides and back piece and into the edges of the shelf pieces.


I now add some drawer slides to the side of the cabinet as well as the sides of the drawer box itself.


I now use my Kreg Cabinet Hinge Jig to drill holes and install some concealed style hinges on the door pieces. I then install the doors onto the cabinet carcass.


I mark the locations and drill finger holes into the doors and drawer front using a Forstner bit.

I now secure the drawer front to the drawer box by installing wood screws through the back of the drawer box and into the drawer front.


This project is now complete and ready for use!