
Small Parts Storage Organizer

This organizer storage rack is a much sturdier and reliable alternative to the standard housings that the plastic organizer bins come with!

I begin ripping down some 3/4” plywood to size at the table saw.

I then cut dados as grooves in both sides of the plywood. The spacing between these grooves is the height of the plastic bins I will be using.

I then rip cut pieces of the plywood. The width of these pieces is the length of the plastic bins.

I now rip small strips of 1/8” thick hardboard. The width of these strips is the width of the plastic bins as well as the dado grooves on each side of the opening.

I now cut the hardboard pieces to final length, which is the length of the plastic bins.

I begin inserting the hardboard pieces into the grooves of the plywood.

After the pieces are assembled, I apply some wood glue to the top edge of each plywood piece.

I now install the plywood cap piece and secure in place using 18-gauge brad nails. I repeat this process for the bottom side.

I apply some wood glue to the exposed plywood edges on the back of the assembly.

After cutting a piece of plywood to size, I install it on the back of the unit.

The back piece gets secured in place with brad nails.

I grab a piece of Walnut material and mill it at the jointer.
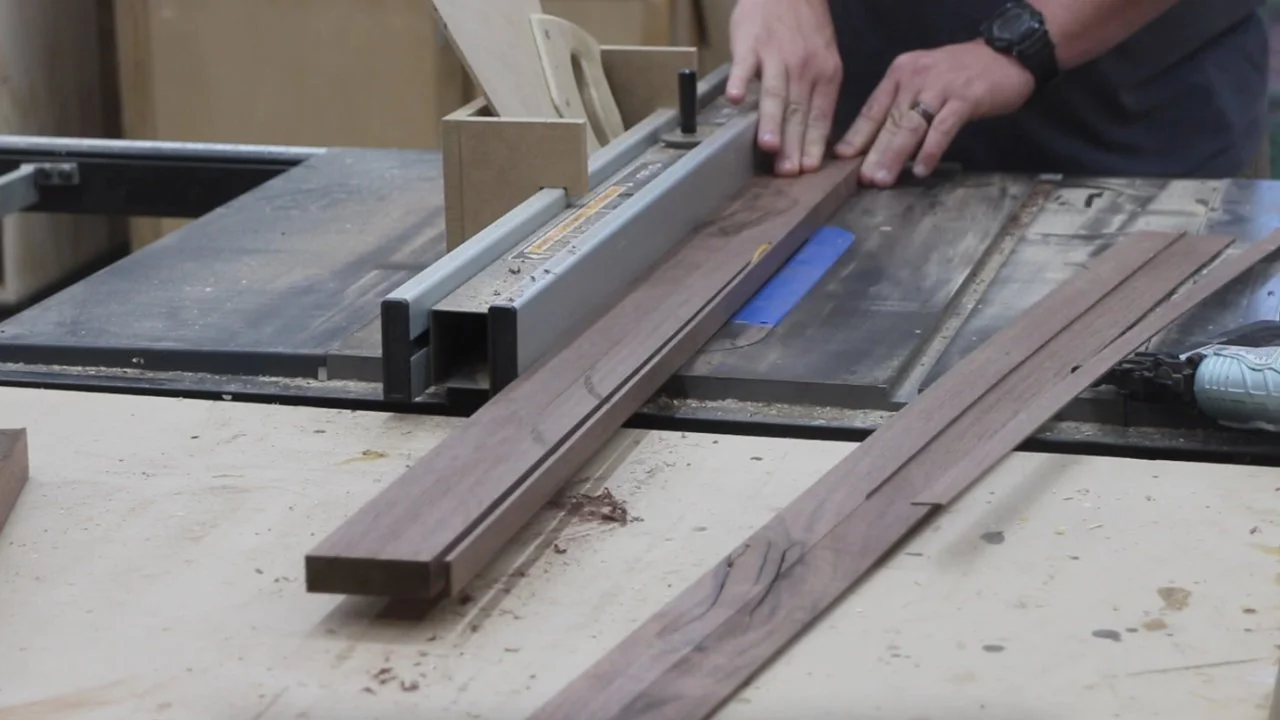
I cut the walnut into 1/8” wide strips at the table saw.

I cut the strips to final length using my cross cut sled.

I then secure these pieces to the exposed plywood edges on the front face of my cabinet. The walnut gives a better look and acts as edge banding.

This project is now complete so I begin installing the plastic trays into the openings. I fill the plastic bins with my small screws, nails, etc. and add labels to each plastic bin face!