
Sanding Disc Holder | Sandpaper Organizer

This sanding disc organizer holder is a great solution for ease of access and keeping the various grits of sandpaper organized.

I begin by taking some measurements of the stack of sanding discs so I know what size to make the organizer.

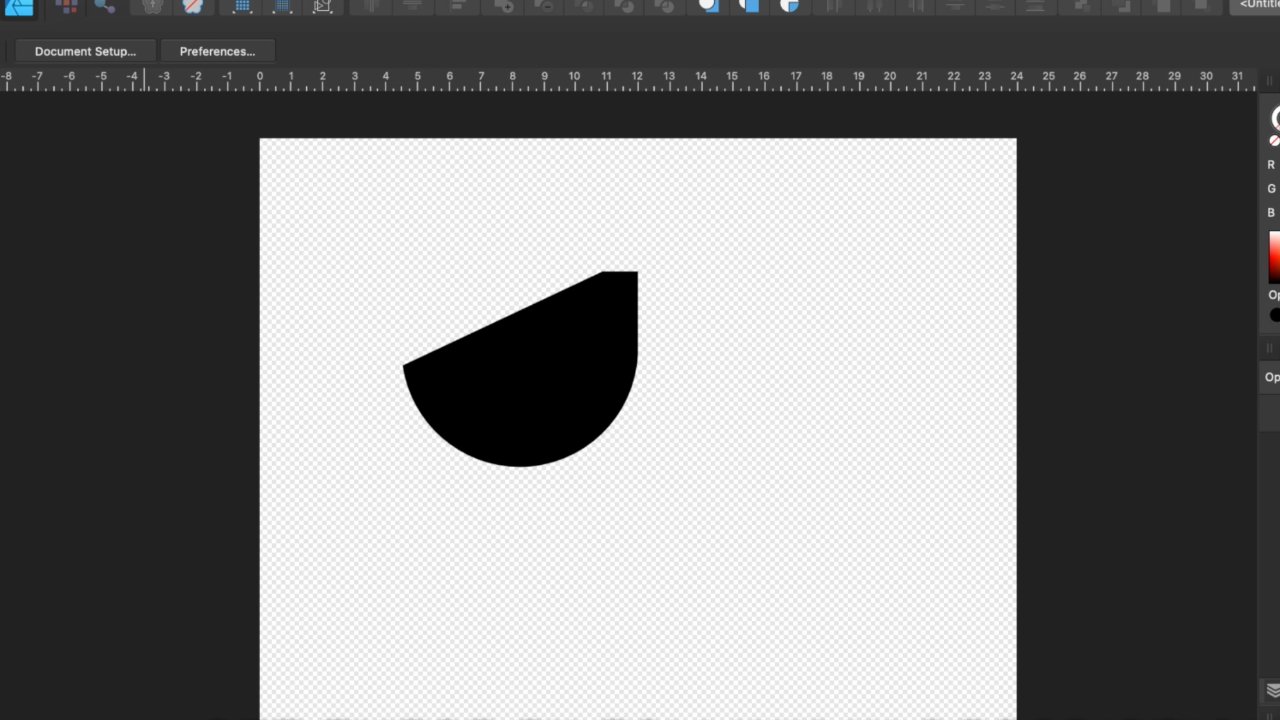
I then jump into my design software and begin making the shapes needed for the organizer.

I setup the CNC toolpaths in my CAM software.

I then load the cut files into the Glowforge web software.
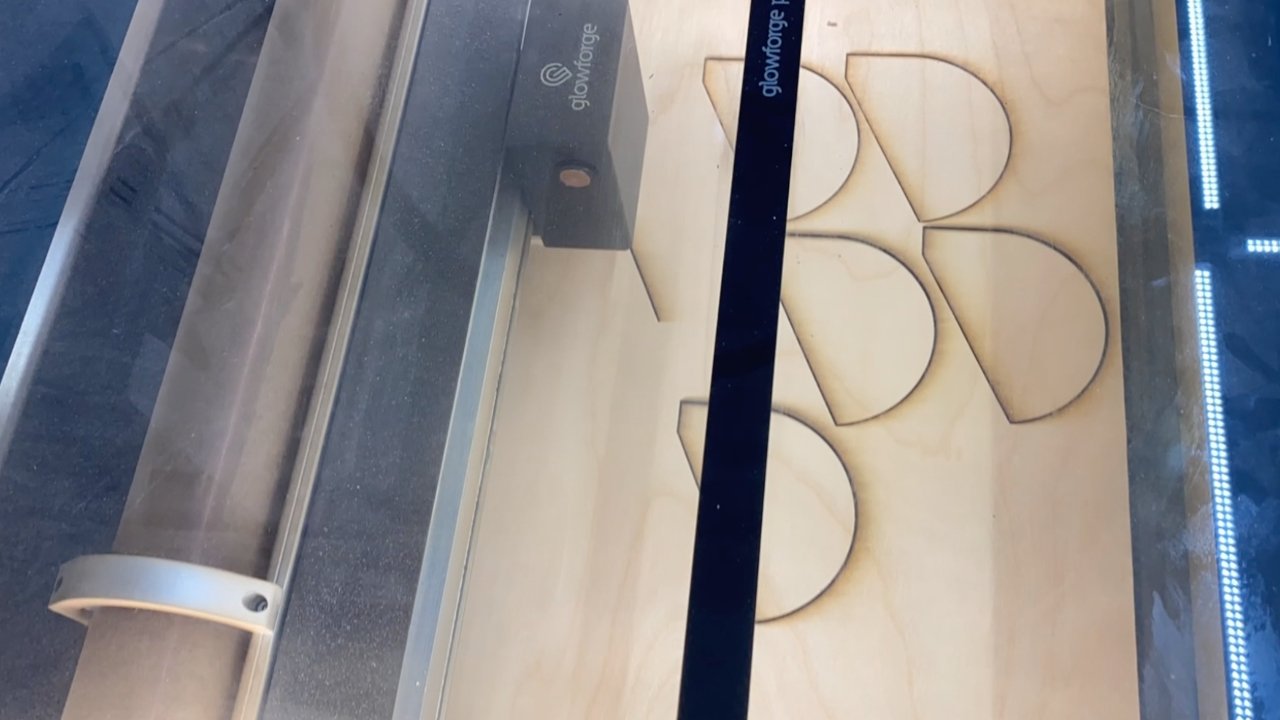
Once setup, I cut the divider pieces out of 1/4” plywood on my Glowforge laser cutter.

I secure a piece of 3/4” plywood to the bed of my CNC.

I install a 1/4” CNC bit into the router spindle.
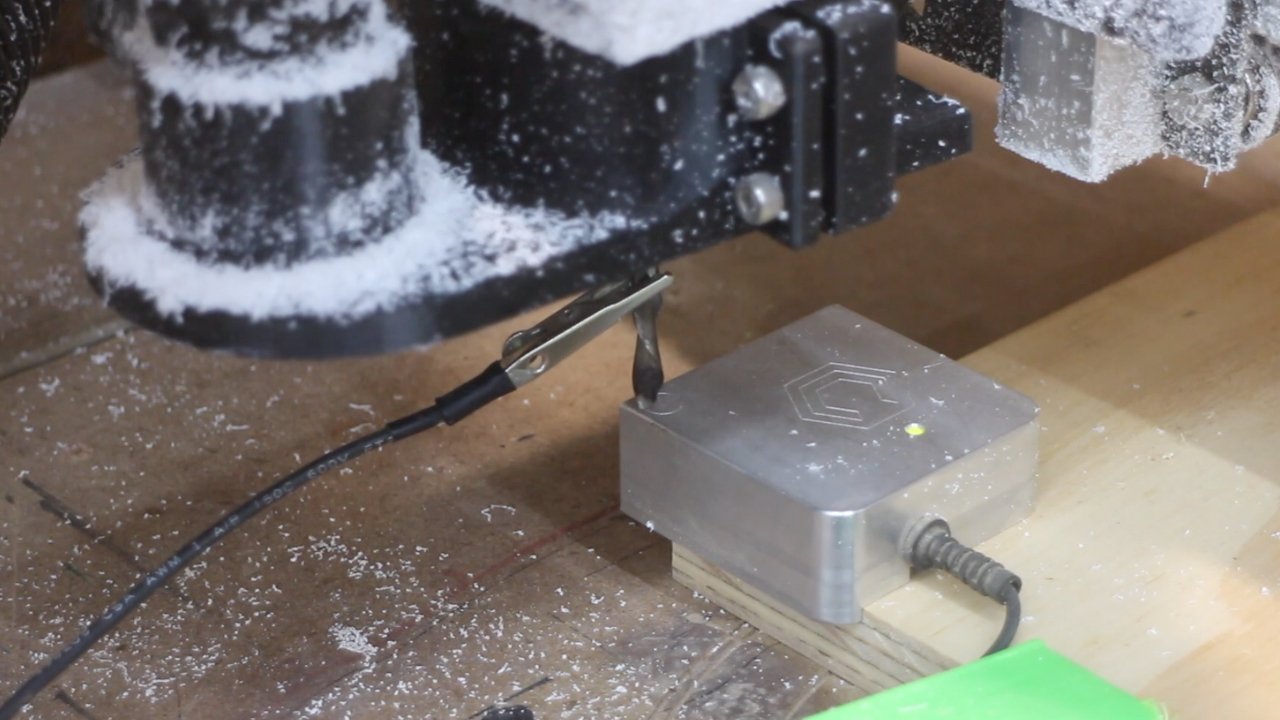
I set zero on the corner of the workpiece using the probing setup tool.

I then run the CNC cut to cut out the “hook” pieces that will make the holder.
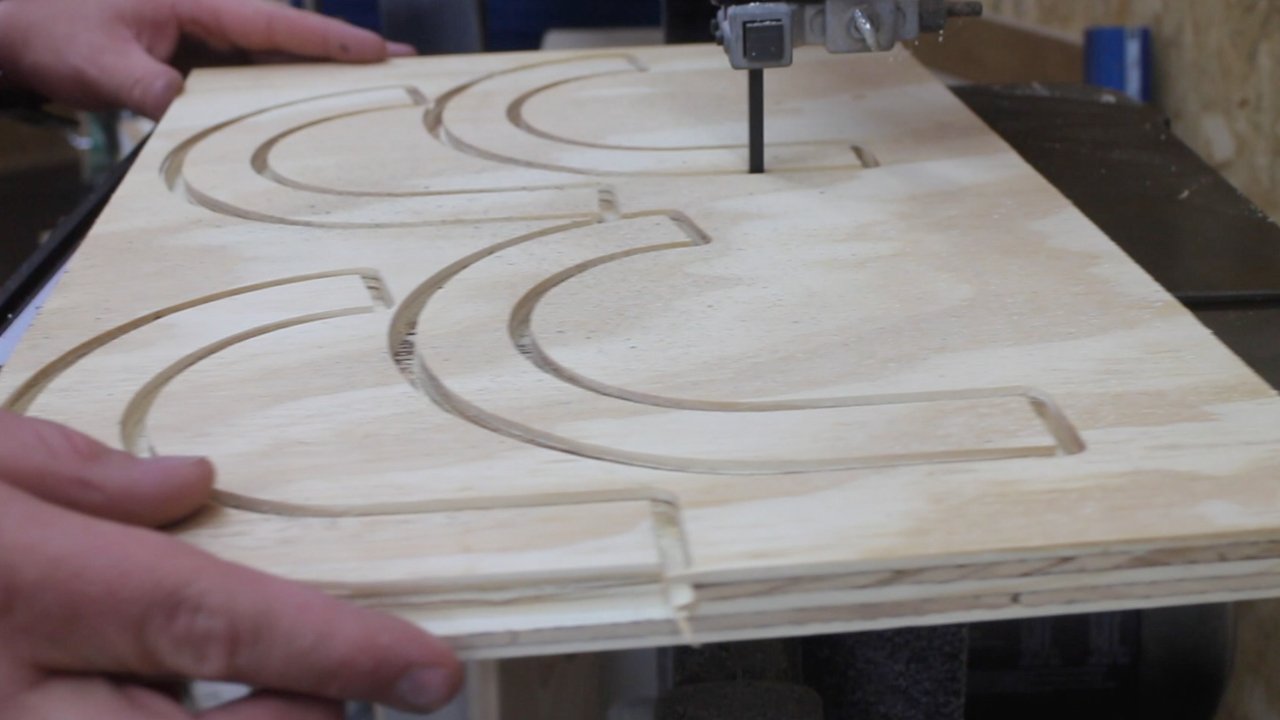
I finish the rough cut of the hooks on the bandsaw.
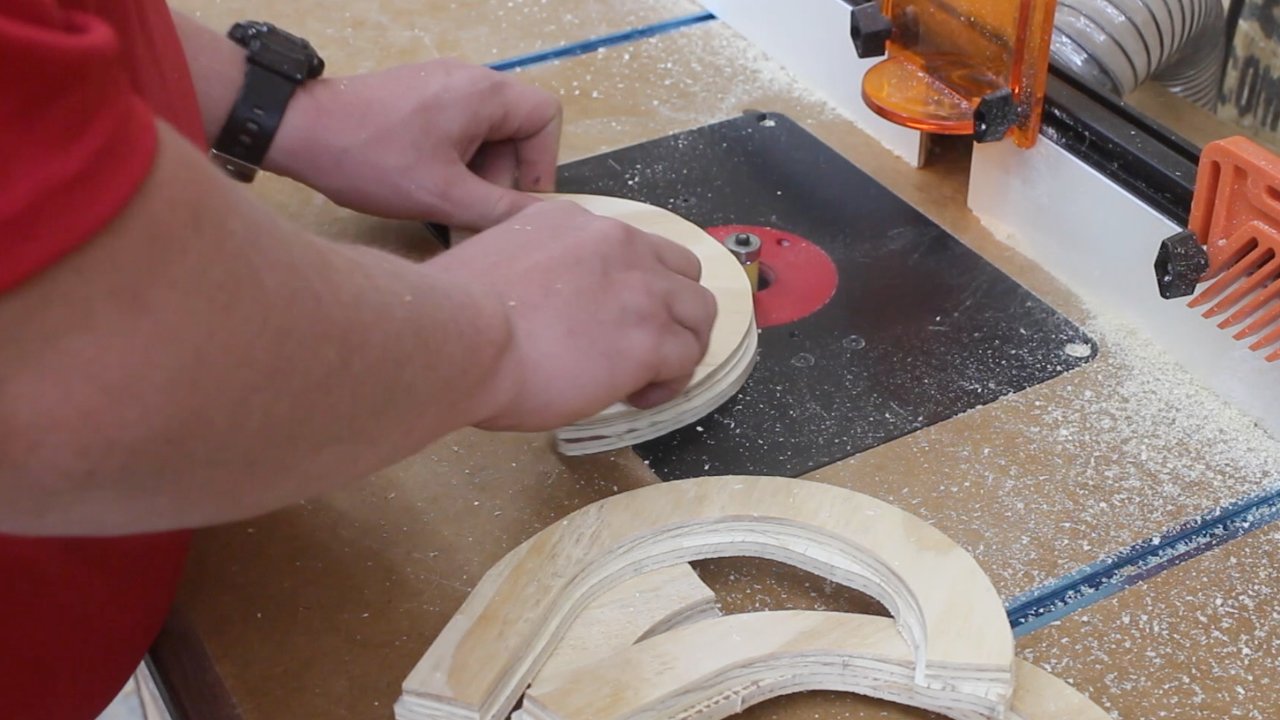
I use a flush trim bit at my router table to ensure all edges are flush to each other.

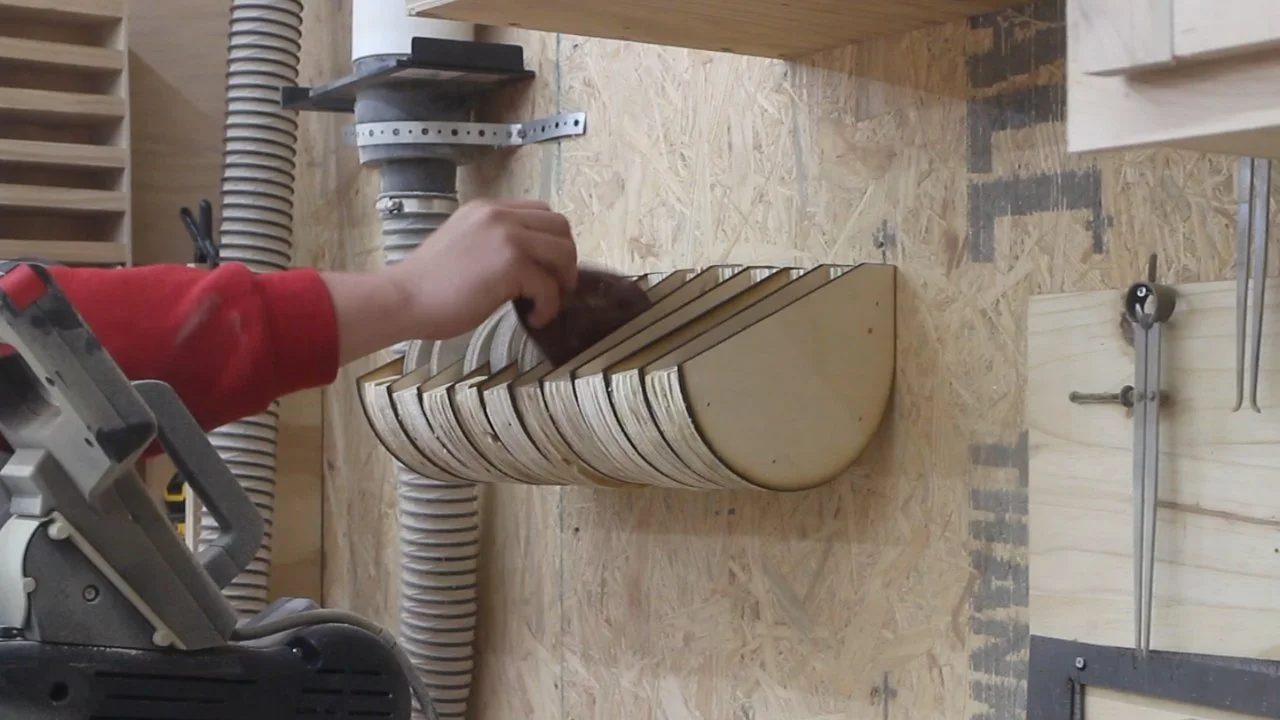
I then begin the glue up of both the hook pieces and the divider pieces.

In addition to glue, I install a few brad nails for extra security of the assembly.

Once assembly is complete, I install the organizer onto the wall in my shop.
I fill the organizer with my various grits of sandpaper, organizing them by grit and type.
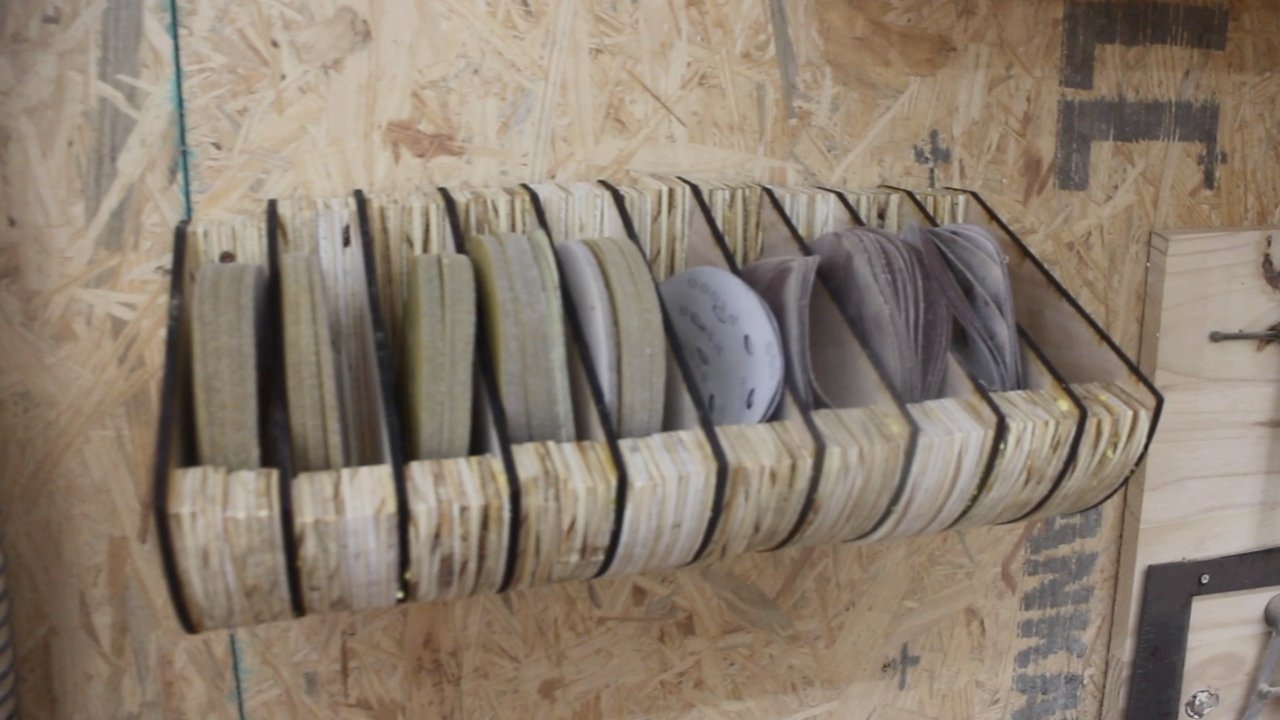
This project is now complete!