
DIY Table Saw Jointing Jig
If you don’t have a jointer, or if you simply need another method of cutting tapers and weird angles, you may want to consider a jointing jig. I will show you the process I used to make my own jointing jig.
Tools & Materials I Used:
(1) 2′ x 4′ – 3/4″ Thick Oak Plywood
T-Track: https://amzn.to/3e4gIMb
T-Track Bolts and Knobs: https://amzn.to/3bYZDRp
Flush Trim Router Bit: https://amzn.to/3sK2Smk
Straight Cut Router Bit: https://amzn.to/3sK2VP2
CA Glue: https://amzn.to/305Vfuj
Toggle Clamps: https://amzn.to/382InJV
Wood Glue: https://amzn.to/3dVtxsu
Delta 36-725 Table Saw: https://amzn.to/3reIucP
Miter Saw: https://amzn.to/307gWtW
KREG Router Lift: https://amzn.to/3rgsAPd
4-Inch Speed Square: https://amzn.to/3qdI317

I first get some measurements to see how big I want my jig to be. I decided on roughly 8″ wide.


Next I mark the location of where the runner slot is in relation to the width of my jig. I mark this on 3/4″ Oak plywood, which is what I used to make my jig out of.

I then used a straight edge to draw a line for the length of my runner. I used the runner itself to make the line. My runner is made of solid Oak material and is milled down to 1/4″ thick and 3/4″ wide. This could be different for you depending on your table saw and the specifications of the slot on your saw.


I used some CA glue to temporarily hold my runner in place. I applied CA glue to the jig base and then sprayed some activator on the runner. I then placed the runner onto the base and pressed it firmly in place.


Next I drilled some pilot holes and countersink holes through the bottom of my runner and into the base. Countersinking these holes is super important to ensure the screw heads are flush to the runner’s bottom and not protruding out. Screw heads that are left proud of the runner’s surface could cause the jig not to slide or even scratch the surface of your table saw.
I used some short screws to secure the runner to the plywood base of the jig.

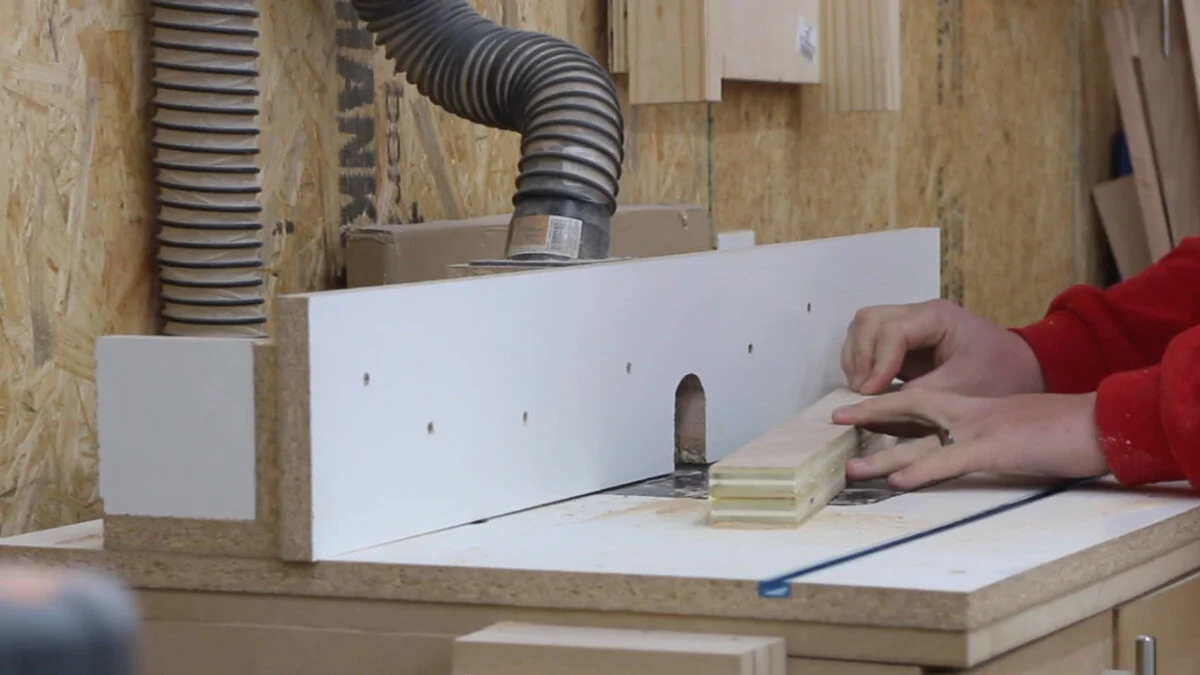
I took a quick trip to the table saw just to ensure my jig slid well within the track and was straight and parallel to the blade. It worked great!

I next marked locations on my jig base of where 2 pieces of T-Track would be installed. I wanted a piece of track located near each end of the base. This t-track will accept bolts that allow the tapering mechanism to move.

I then used my cross-cut sled on my table saw to cut the grooves into the base for the track. You could also use a dado blade set for this. However, I decided to use my normal single blade since it was a small project that didn’t take much time.


After the grooves were cut, I test fit the t-track pieces. Once I was sure they fit fine, I applied some CA to the plywood grooves and sprayed some CA activator on the pieces of t-track. Then I slid the track pieces into the grooves and secured them in place using some short wood screws.

The tips of the screws protruded through the bottom of the plywood base so I used my cordless angle grinder to grind the tips back to be flush to the plywood. This is a super important step as if the screw tips aren’t flush it can scratch your table saw’s surface and/or cause the jig not to move smoothly. I didn’t care too much about the appearance of the bottom of the base as it will not be visible.

Next I milled down some more 3/4″ plywood that I will used for the moveable tapering mechanism.


I then laminated two pieces of plywood together using standard wood glue. I put the assembly in clamps and let the glue dry.


Once the glue dried and I removed the clamps, I scraped off the glue squeeze out and used a flush trim router bit to ensure all edges of the assembly were flush to each other.


I next marked the locations of where the slots would be cut on each end of the tapering mechanism. These slots will be elongated to allow movement of the t-track bolts for custom cuts and measurements.
Once they were marked, I headed back to my router table and installed a dado groove cutting bit to cut the slots. A stop block made easy work of ensuring my slots were uniformly the same length and position on each end.


I stopped by the disc sander to give the tapering mechanism piece slightly rounded corners for visual appeal and breaking the sharp edges. I then made sure the assembly would slide over the t-track bolts and move freely; and install the t-track bolt knobs.


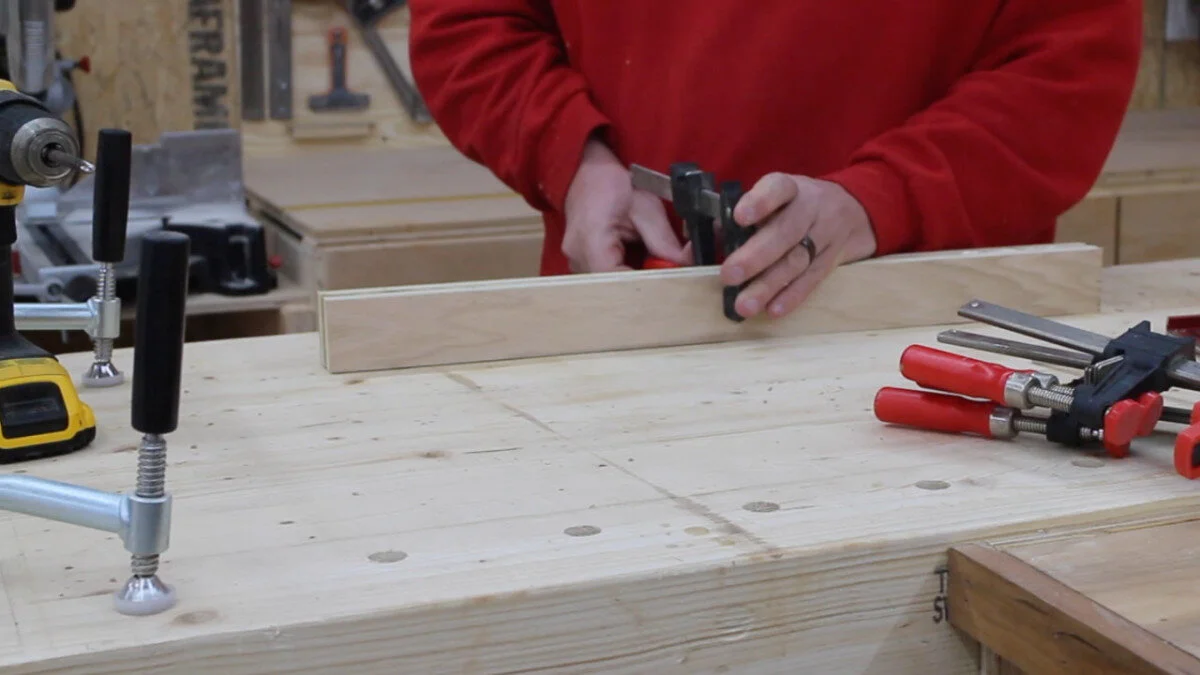
I decided to add some hold down clamps to my jointing jig that would hold material in place while making a tapered cut. You could opt for the t-track clamps but frankly those are overpriced. So, I bought a bunch of the toggle style clamps for way less money and they work awesome. I installed two of them on the taper mechanism portion of the jig so that they would move with that piece. I simple added these using wood screws.


After ensuring one last time that the jig would slide freely on my saw, I made my first test cut. Everything worked great! I am excited to have this jointing jig as an addition to my shop and feel I will find many uses for it on upcoming projects!
