
How To Make A Table Saw Push Stick

I needed a newer push stick that was large enough to keep my hand away from the blade. So, I decided to design my own push stick from scratch.
I start by finding a hand saw that has a handle that I like and feels good in my hand. I then use an 8.5″ x 11″ sheet of paper to trace the shape and outline of the handle onto the paper.


Once the outline is traced, I larked the line using a permanent marker. This will allow the outline to show up better once I scan the paper into my computer.

I now scan the paper into my computer. I set my digital artboard to be the same size as the paper (8.5″ x 11″). I then digitally trace the outline and delete the background paper image.


Once I have the outline digitized, I export the image in SVG format and upload it to a new project in Easel, the program I use for CNC work. I again format the Easel artboard to be the same size as the paper. This ensure my handle is the correct size. I set the tool path to be outside the line on the outline of the handle, and the inside of the line on the inner handle hole.

I then carve out this project on 3/4″ Baltic Birch plywood using my BOBS CNC E4.

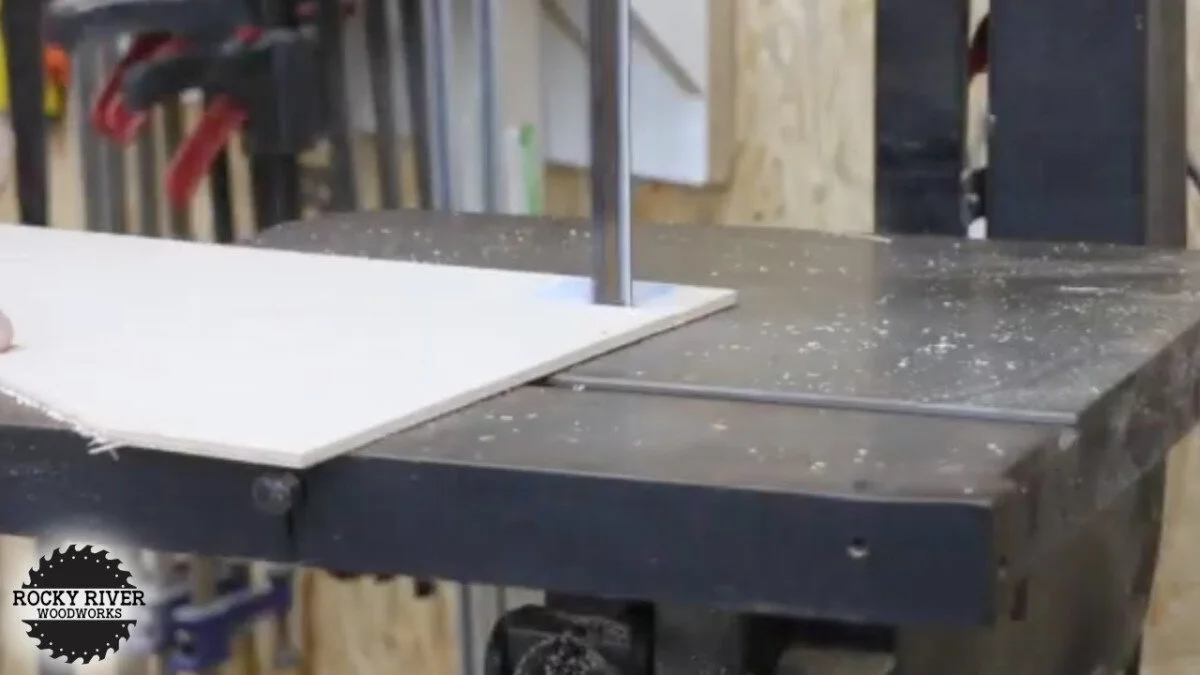
The CNC didn’t carve fully through the material so I finished the rough cut on my bandsaw.

Once the rough cut was complete, I finished the final trim with a flush trim router bit that is installed in my router table.

I then head to my table saw and cut the groove in my handle piece. If you do not feel comfortable doing this, using a router bit or another jig. Never do anything in the shop that you’re not comfortable doing.

Now that my handle is complete, I work on laying out the design of how I want the push portion of the stick to be.

Once the layout is complete, I head back to the bandsaw to cut out my design using 1/4″ Birch plywood.
Now I simply slide the plywood piece into the groove on my handle piece, and secure it in place. You could use wood glue for this, but I decided to using some really short 3/4″ screws. This ensures that they do not penetrate all the way through and out the opposite side.

This project is now complete and ready for use!