
DIY Workbench For $200

I begin this project by cutting a dado into some 2x4s that will later become the legs of my workbench. I cut the dados using my dado blade set on my table saw with a dado sled.


Next I cut the additional 2x4s needed for the leg assemblies and laminate them to my original 2x4s legs using wood glue and 3″ screws.

After all 4 leg assemblies are complete, I install the short stretchers between the 2 leg assemblies that will complete one side of the bench.


I now stand up and layout the side assemblies as complete units and install the lower long stretchers between the side assemblies.

After the entire bottom set of stretchers is complete, I install both the short and long stretchers that go at the top of the bench.


It is now time to work on the bench top. I layout 17 – 2x4s next to each other vertically. I apply glue to each board’s surface and glue them together using long parallel clamps. I let the glue dry overnight before proceeding with the next steps. I only glue about 5 or 6 boards together initially. This will allow them to be narrow enough to feed through my planer.

After the individual glue ups have dried, I run them through the planer and ensure each glue up is planed down to the same thickness. This process will also remove the factory round-over from store bought 2x4s.

Now that the individual assemblies have been planed and smoothed, I glue all assemblies together, again using large clamps.

Once the glue has dried from the table top assembly, I use a belt sander to finely flatten the surface. You can do this process with a CNC flattening bit, router sled, or belt sander. A belt sander takes a little more time, but with a soft wood like spruce studs and low 80-grit sandpaper, the belt sander flattening and smoothing process went fairly quickly.

I now draw square lines on each end of the bench and trim up the ends to make them completely square, since some fo the ends of the 2x4s did not completely line up flush during glue-up.


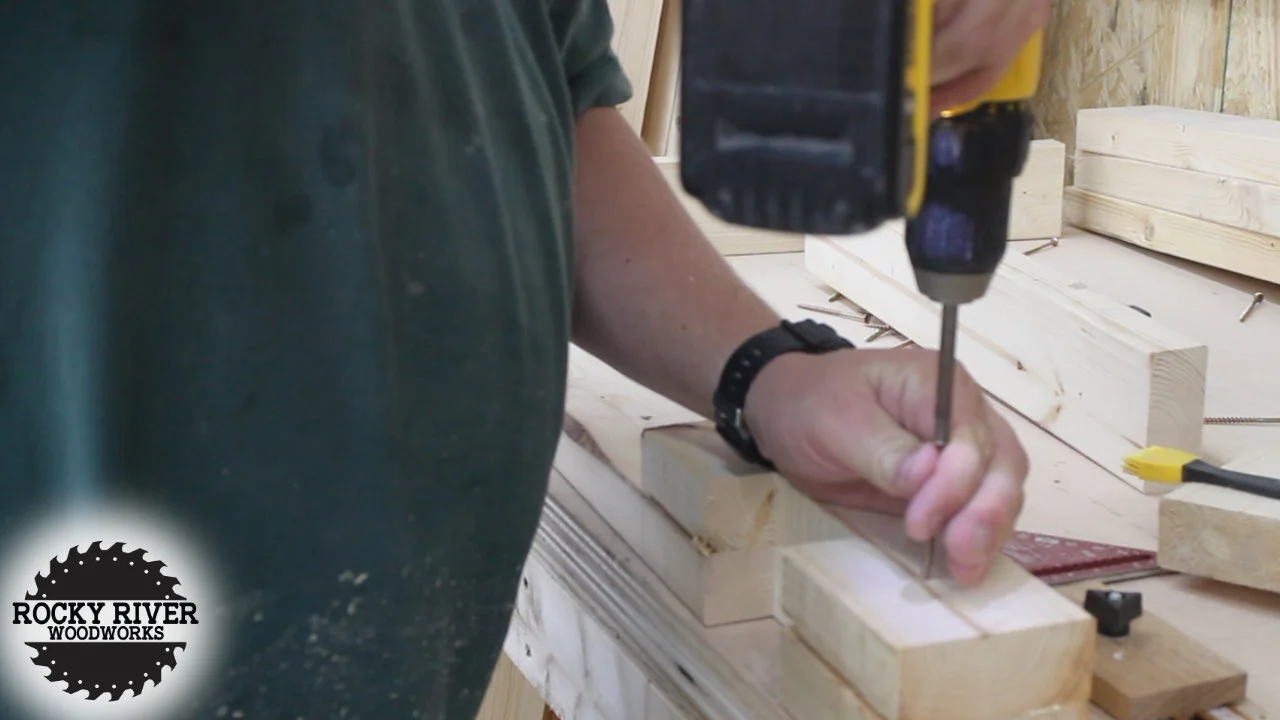
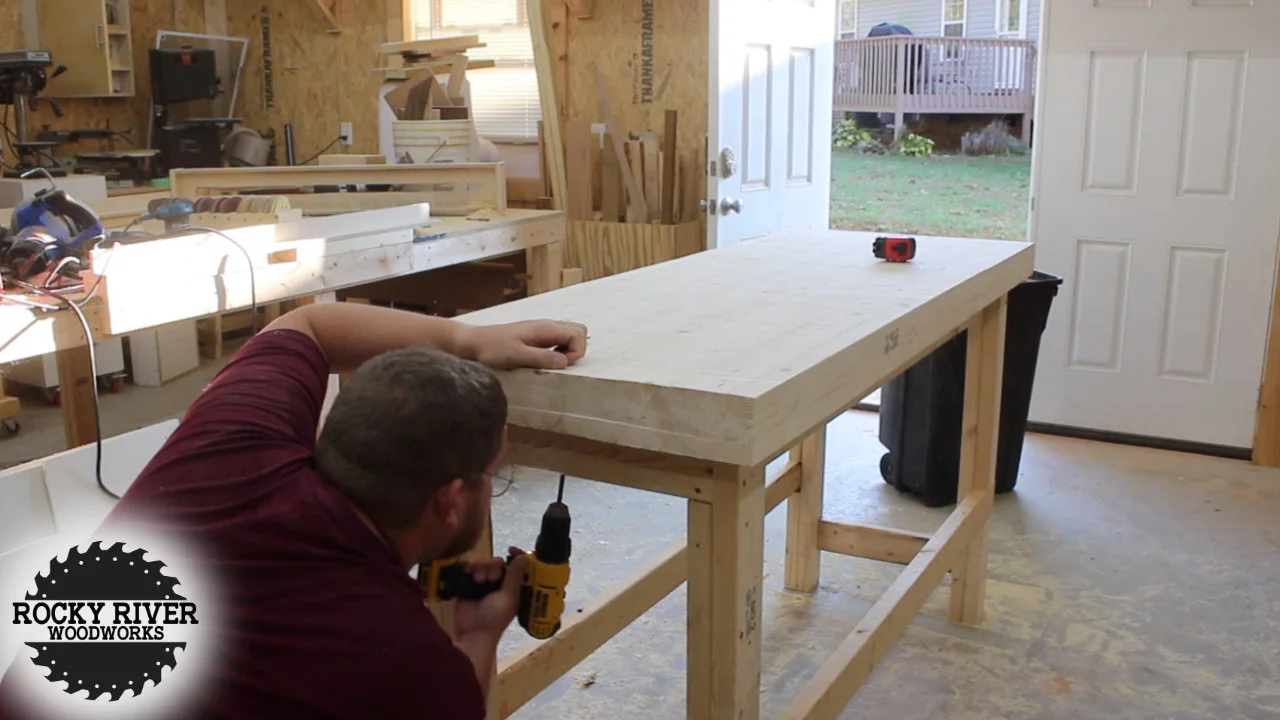
I now center up the top with equal overhang on all sides and pre-drill holes through the bottoms of the top stretches and drill screws into the bottom side of the bench top.

The last step of this project is to apply wood finish. I decided to use Shellac.

This bench is now complete and ready for use!
