
Challenge Coin Display Flag
I recently made a challenge coin display flag. The flag features a color scheme that represents a thin yellow line and thin blue line for those that are dispatchers and in law enforcement.
Tools & Materials I Used
Wood Glue https://amzn.to/3dVtxsu
Delta 36-725 Table Saw: https://amzn.to/3reIucP
Miter Saw: https://amzn.to/3NSDWXT
F-Clamps: https://amzn.to/2ZXSYV9
Jointer: https://amzn.to/3NN9ZYT
Air Filtration System: https://amzn.to/3NNdLS9
Random Orbital Sander: https://amzn.to/30lk9tN
Parallel Clamps:https://amzn.to/3nyR8n6
Planer: https://amzn.to/3kYtP4l
4” Clear Flexible Dust Collection Tubing: https://amzn.to/3pcGD8K
2 1/2” Flexible Dust Collection Tubing: https://amzn.to/3p84NRG
4” Hose Clamp: https://amzn.to/3ldJ0qx


I begin by milling and cutting down some red oak into small strips at the table saw. These will make up the stripes of the flag. I then cut the strips of wood to length at the miter saw.


I then edge-glue the strips together in clamps, and let dry.


After the glue is dry, I remove the assembly from the clamps and run the piece through the planer to get an even and flat surface on both sides. I use my table saw to angle the blade and cut kerfs into the “stripes” of the flag. These allow the challenge coins to be displayed nicely on the final product.


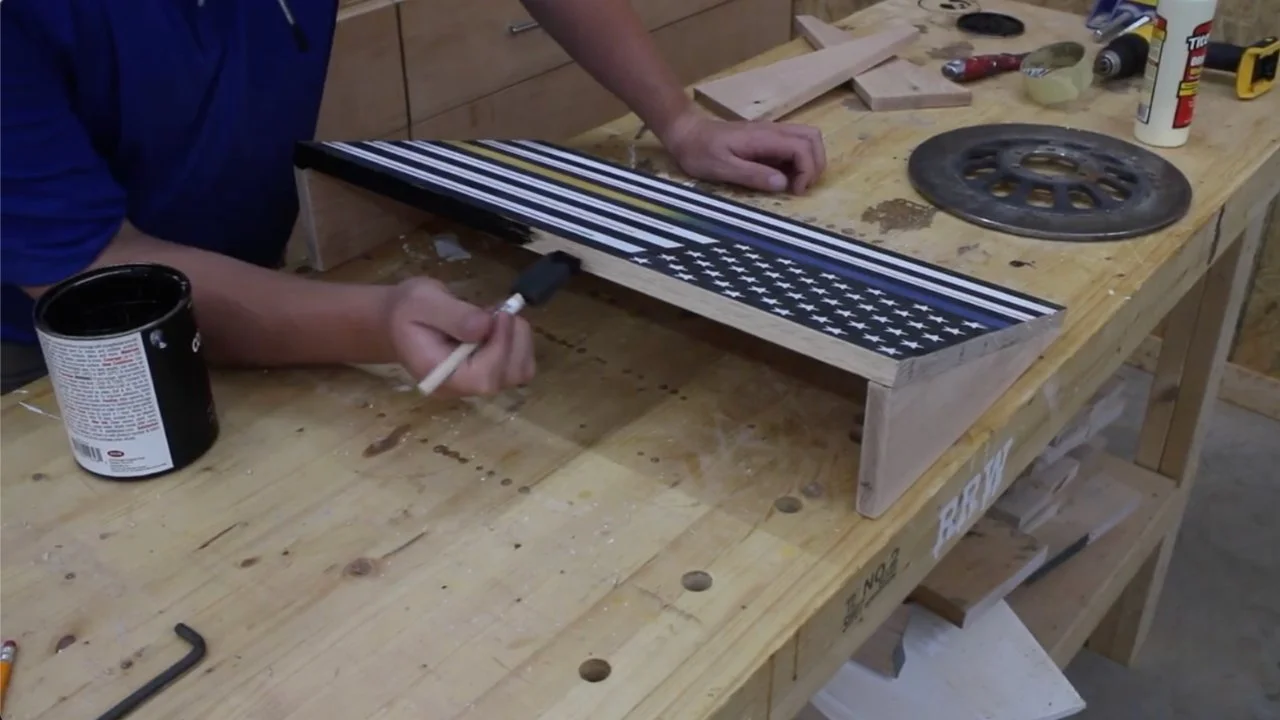
I use tape to mask off the area that I would like to paint black. I then spray paint the area black and once the paint has dried, remove the masking tape. I repeat this process for the gold and blue colors.


Next I use my vinyl plotter to cut out a stencil to be used to apply the Union. I stick the vinyl stencil to the piece, and paint the stars white.


I cut some more oak boards to the size and shape needed to form a base. I glue up the base pieces to the flag and paint the base black.


Once the glue dries, the challenge coins are inserted into the kerf-cut slots, and this project is complete!