
Giant Size Stamp of Approval

This giant size “approved” stamp is made of Poplar, Maple, and epoxy and is a great centerpiece and conversation starter!

I begin at the miter saw by cutting some poplar stock down to length.

I plane down the poplar pieces at the planer to get smooth faces and uniform thickness.

I then glue up the poplar pieces together in a lamination fashion with wood glue. I repeat this process with Maple stock (that will later become the handle of the stamp).

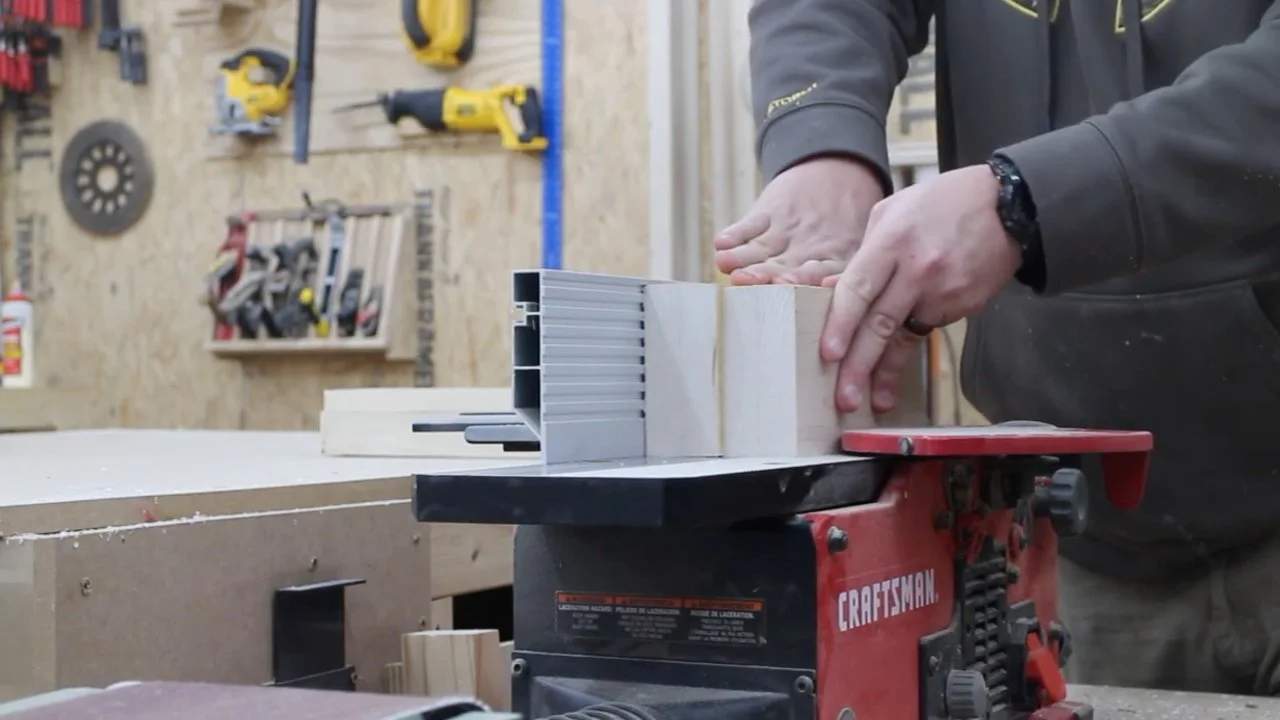
Once the glue is dried, I use the jointer to get the edges clean, flush, and straight.

I use my table saw to cut off the corners of the square maple stock. This makes the lathe process easier and in more of a rounded shape to begin with.


I drill a hole in the center of the maple stock to allow my lathe chuck screw to be installed, and get the assembly chucked up in my lathe.

I now carve my stamp handle down to the shape that I like. I start with a roughing gouge, then a scraper, and then a skew chisel.


I then sand the project on the lathe, finish the cut on the bandsaw, and sand the final pieces of the handle with a random orbital sander.

I make the bottom of the handle “flat” on my edge belt sander. This is important for glue up as it provides an even surface for glue adhesion.

I now use my CNC router to carve “Approved” into the Poplar stock. Off camera I pour back epoxy into the recessed carvings, and let the epoxy dry.

Once the epoxy has fully dried (around 3 days later), I sand down the face of the stamp to reveal a clean and nice looking “Approved” graphic.

I find center of the top side of the stamp.
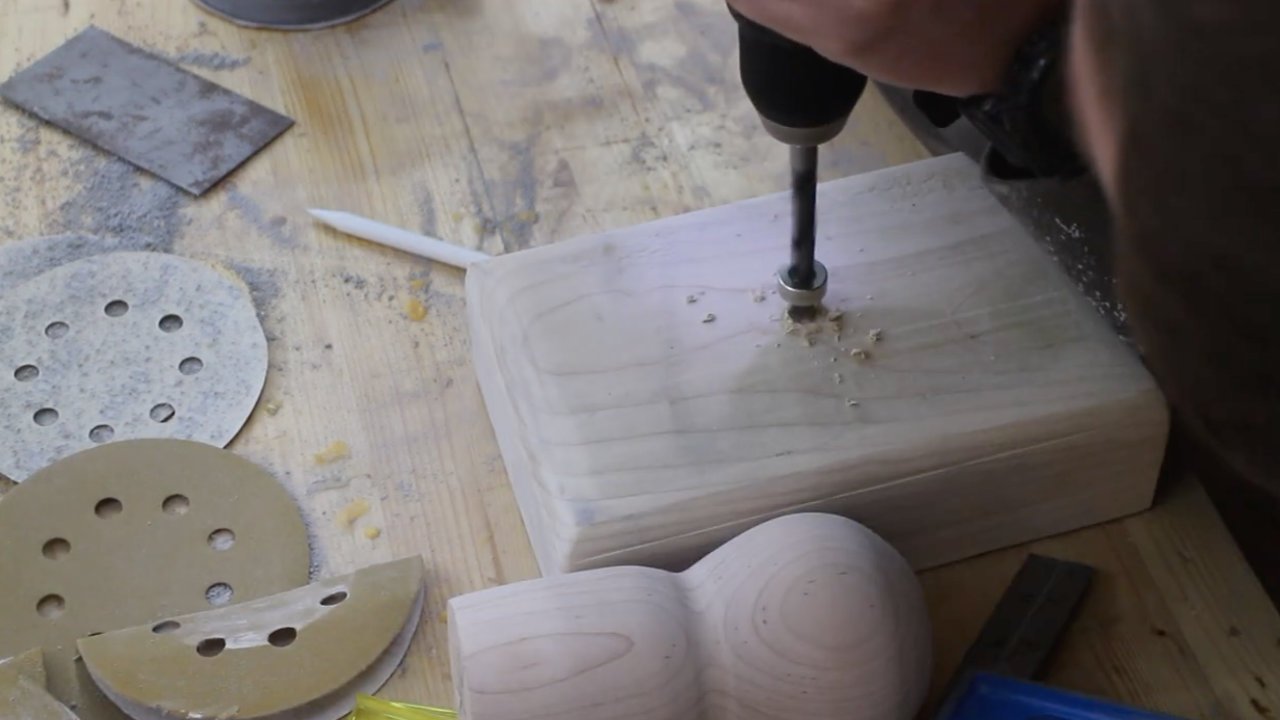
I then drill a hole in the center of the stamp using a dowelling bit.

I drill the same diameter hole into the center of the stamp handle as well.

After applying wood glue and a dowel, I secure the stamp handle to the stamp base and let the glue dry.

Once the glue has dried, I give the entire project a light sanding before applying finish. I decided to finish this project with wipe on poly.


This project is now complete!