
Giant Sized AK-47 Bullet
This project is made from solid Maple and Dark Walnut. It really doesn’t serve any practical purposes but I thought it was cool, and it was fun to make.
Tools & Materials
Wood Glue https://amzn.to/3dVtxsu
Delta 36-725 Table Saw: https://amzn.to/3reIucP
Miter Saw: https://amzn.to/307gWtW
BobsCNC E4: https://amzn.to/3v2x129
DEWALT Cordless Drill: https://amzn.to/3rsJ71T
F-Clamps: https://amzn.to/2ZXSYV9
Jointer: https://amzn.to/3GWiJ9o
Random Orbital Sander: https://amzn.to/30lk9tN
Tung Oil: https://amzn.to/3HmRDIz
Center Finder: https://amzn.to/3ra9XiN
Carbide-Tipped Lathe Chisel: https://amzn.to/3DNts42
Digital Calipers: https://amzn.to/3l0uXVi
Outside Caliper: https://amzn.to/3CN83GE
Doweling Kit: https://amzn.to/30SaxXl

I start by rough cutting some Maple at my miter saw.

I then begin face jointing one side of the material with my jointer.

I then head over to the planer to get both sides of the material flat and parallel.

I then stack up my pieces of material and ensure that the final glue up will be thick enough to be proportioned correctly for this large-scale project.

Once the size is confirmed, I begin laminating the individual pieces of Maple together using wood glue.
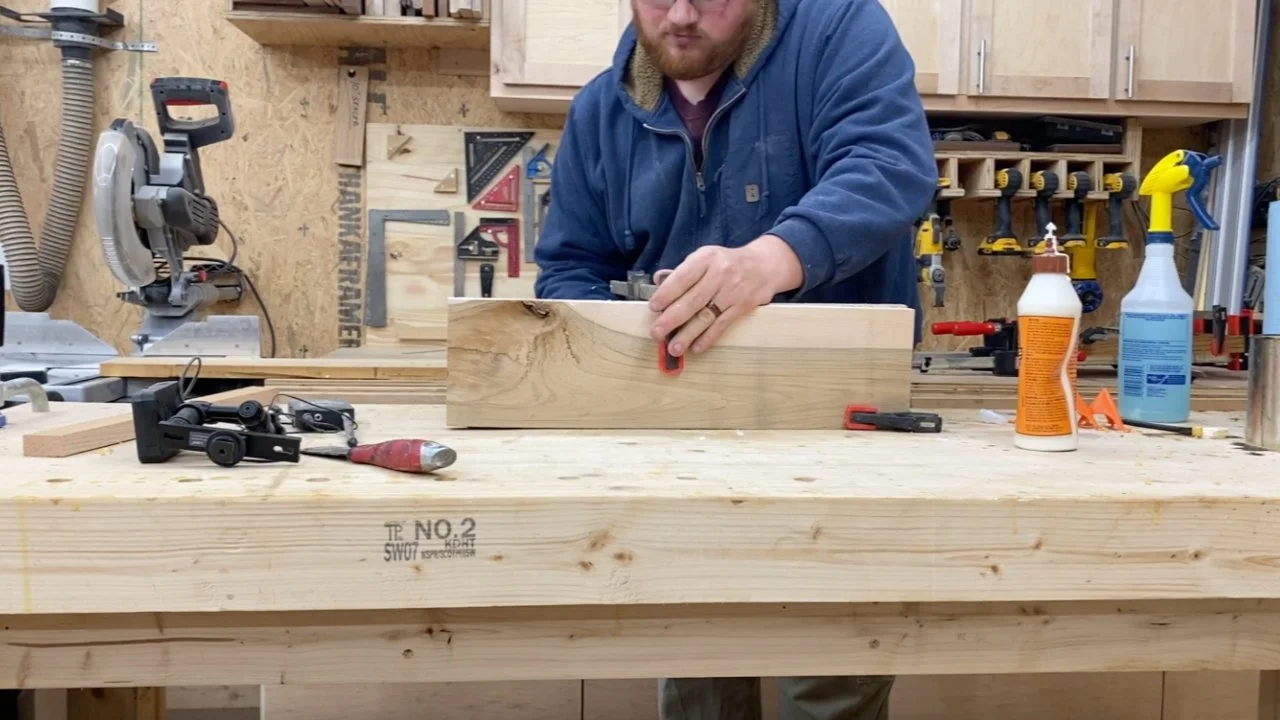
Next, I use some F-Clamps to squeeze all pieces of material together tight.

I install a 1/4” down-cut bit in my CNC and cut out the rear bullet head and Dark Walnut insert that will be the “primer cap”.

I head over to the table saw and cut the Dark Walnut glue-up to a perfectly square “chunk” of wood.


I then use the miter saw to square up the edges of the blocks of wood. This is an extremely important step once we get ready for the lathe.

I decided to face-joint one side of the Maple glue-up at the jointer.

I then cut a square chunk of wood again at the table saw.


Next I used a center finder to mark centers on both sides of the Dark Walnut and Maple blocks of wood.

I then drilled a hole at the center point of one side of the Walnut block and installed the threaded lathe chuck insert.


I now can begin carving and shaping the Walnut block of wood on my lathe.

I begin with a carbide tip chisel for removing the bulk of material.

Periodically I would use digital calipers to check dimensions of the original bullet so I knew what to scale off of.

I then used an outside caliper to check the dimensions at my lathe to ensure it matched the scaled up dimensions proportionately.

Once the Walnut piece was to size, I took it off the lathe and use my bandsaw to cut off the excess wood material at the “tip” of the bullet.

Next, I chucked up the Maple block and began carving.

I would periodically stop and mark key locations on the block to ensure everything would line up to the Walnut piece in later steps.


After the block was to shape, I sanded the piece from 80-grit, up to 3000-grit. 3000 is a little overkill…but hey, why not.

I then marked center of both the Maple end and Dark Walnut end.
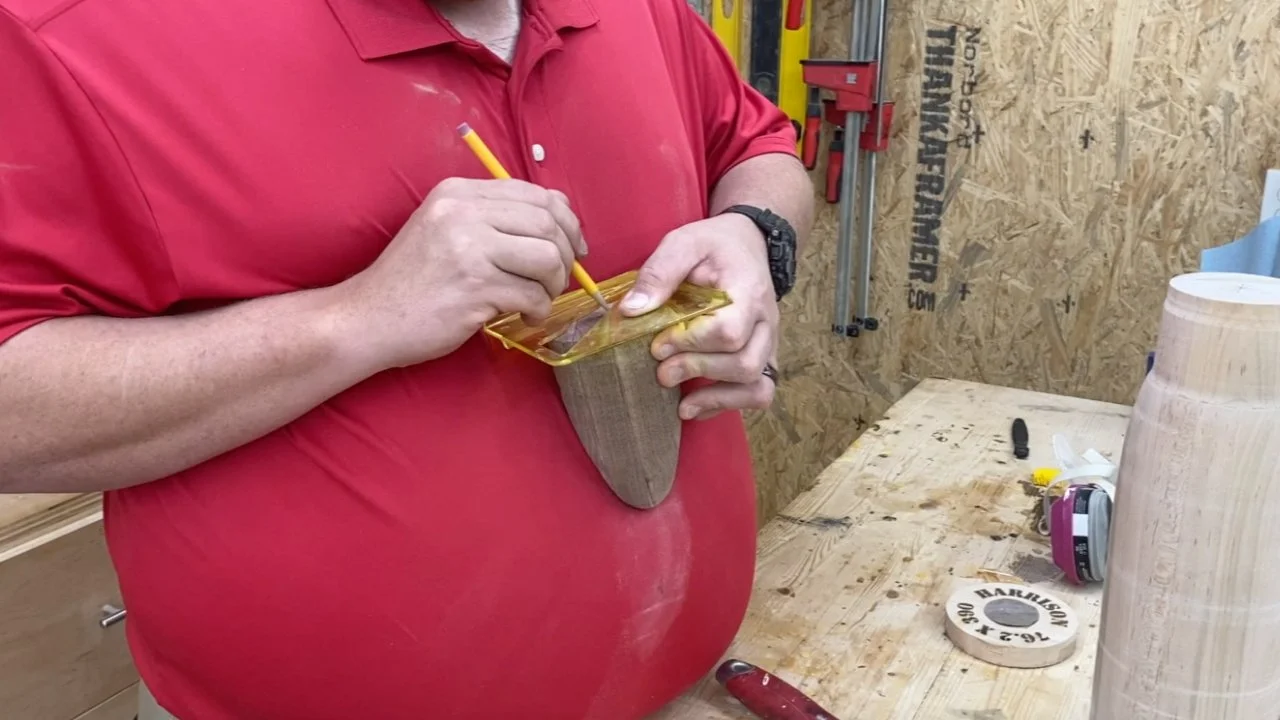

I used a doweling bit to drill a hole in each end of wood.

I then applied glue to both sides of the joint, inserted a dowel, and attached the Walnut piece to the maple piece.


I put the entire assembly into clamps and let the glue dry.

While the glue dried, laser engraved the back of the bullet, and sanded the Walnut “primer cap” flush to the maple piece.


I now applied wood glue to the back of the Maple piece, and glued on the rear piece with the “primer cap”.


After the glue dried, I sanded the entire project. I again started at 80-grit, worked through the grits up to 220-grit.

I decided to finish the project with Tung Oil. I applied the oil in a flood coat fashion by pouring a liberal amount of oil all over the project.

I evenly wiped in the oil all over the bullet and let the oil dry.

This project is now complete. Though it has no practical use, I thought it was kind of cool!