
Simple Rustic End Table

This simple DIY end table has a modern-rustic appearance and can be made in a single day. It is very affordable to make at only around $40 in materials, but can sell for much more!

I start at the miter saw but cutting all of my parts to length.
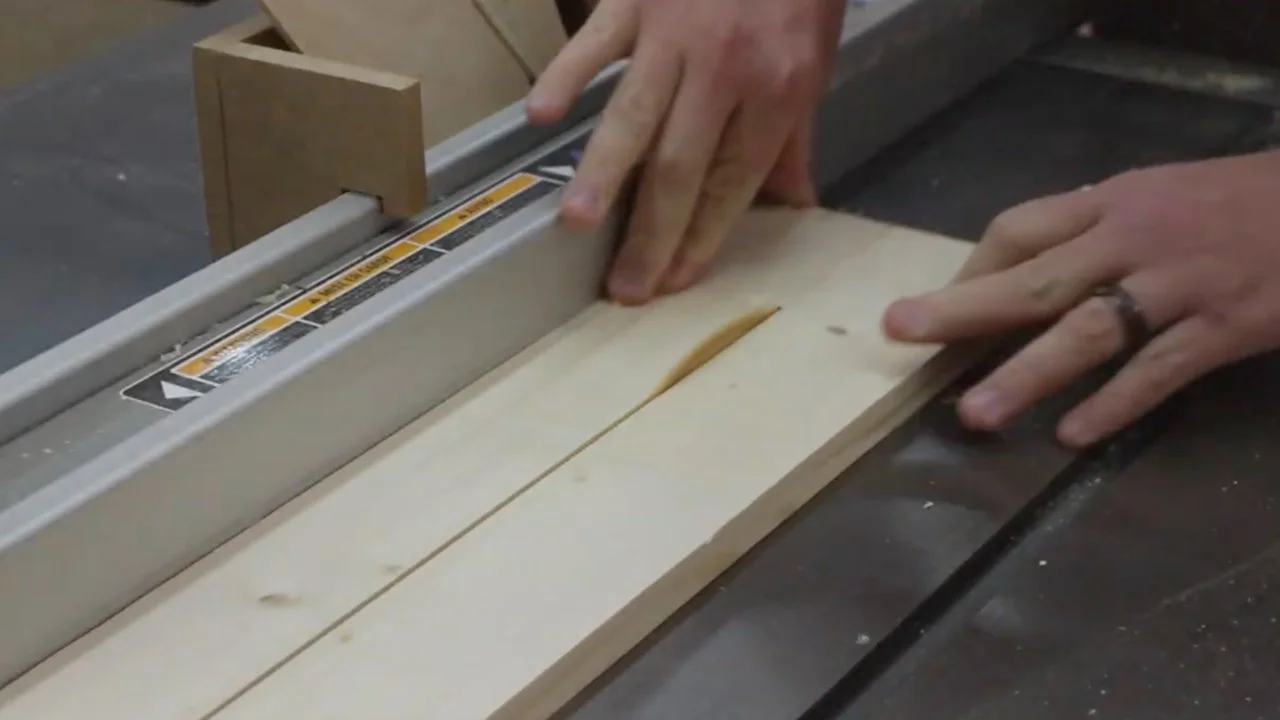
I then move to my table saw and rip all of my parts to width.

Next I cut a 45-degree angle on each of the leg piece edges. This will become a miter joint for the leg assembly.

I use my tapering jig to cut a small taper on the bottom side of each of the leg pieces. This step is optional, but adds a layer of décor.

I now spread some wood glue on each face of the leg pieces.

I secure the leg pieces to each other with a miter joint, using 18-gauge brad nails.


I begin adding the top support pieces to the legs with wood glue and brad nails.

I work my way around the table, installing each side of top support pieces.

I then install all of the bottom support pieces in a similar fashion with wood glue and brad nails.

I install the table top pieces using brad nails, ensuring the overhang/reveal on all 4 sides is even.

I install the shelf blanks onto the bottom support pieces using brad nails.

I give the project a thorough sanding, working my way through the grits.

I liberally apply wood stain, then wipe off excess after it’s had time to make it’s way into the wood fibers.

Once the stain has dried, I spray a coat of Lacquer on the table, and this project is complete!