
Modern End Table
I recently made a modern end table using Dark Walnut for the top and Hard Maple for the base and table legs. This was a challenging build with some weird angles but turned out pretty cool! Read on below to see the entire build process, and watch the video for more!
Here are the tools I used for this project:
Palm Router https://amzn.to/37XCtJM
Wood Glue https://amzn.to/3dVtxsu
Flush Trim Router Bit: https://amzn.to/3sK2Smk
Straight Cut Router Bit: https://amzn.to/3sK2VP2
CA Glue: https://amzn.to/305Vfuj
Delta 36-725 Table Saw: https://amzn.to/3reIucP
Miter Saw: https://amzn.to/307gWtW
KREG Router Lift: https://amzn.to/3rgsAPd
DEWALT Cordless Drill: https://amzn.to/3rsJ71T
Belt Sander: https://amzn.to/3mIXdNg
F-Clamps: https://amzn.to/2ZXSYV9
Jointer: https://amzn.to/3GWiJ9o
Random Orbital Sander: https://amzn.to/30lk9tN
Tung Oil: https://amzn.to/3HmRDIz
Parallel Clamps:https://amzn.to/3nyR8n6
Wood Screws: https://amzn.to/3oQD1J1
Planer: https://amzn.to/3kYtP4l
Miter Gauge: https://amzn.to/3kX5yM2
Digital Calipers: https://amzn.to/3l0uXVi
Doweling Kit: https://amzn.to/30SaxXl

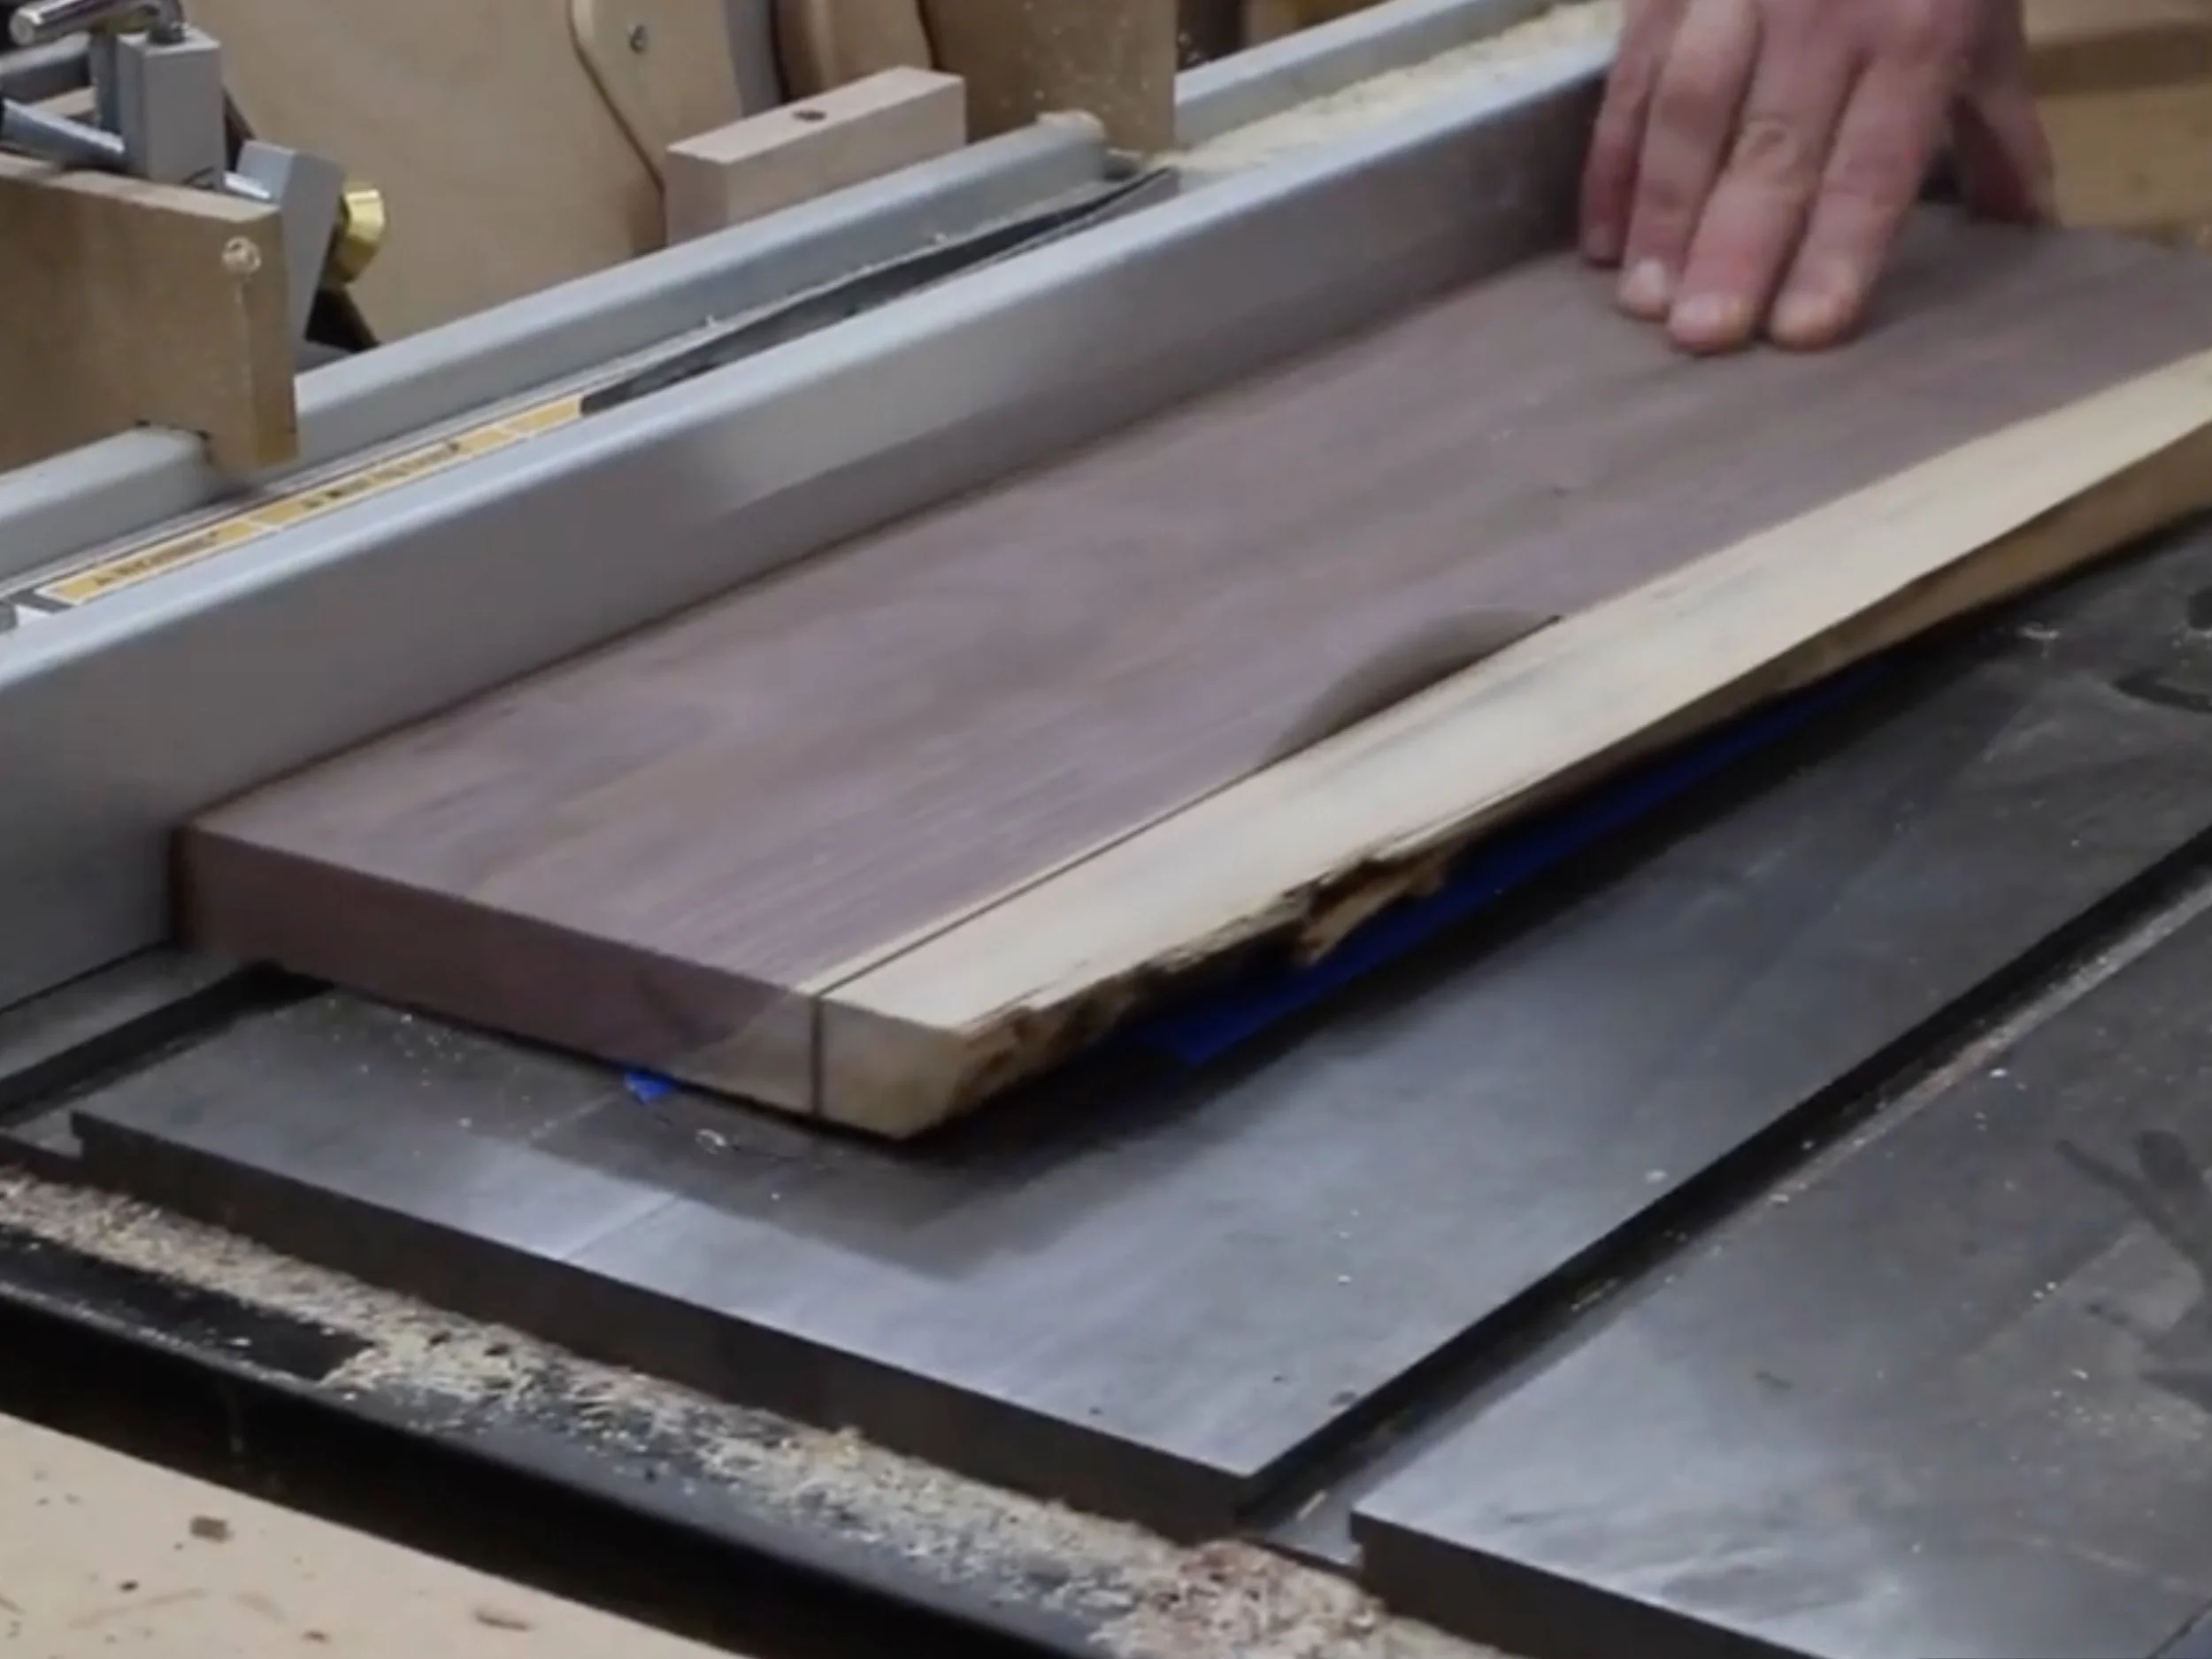
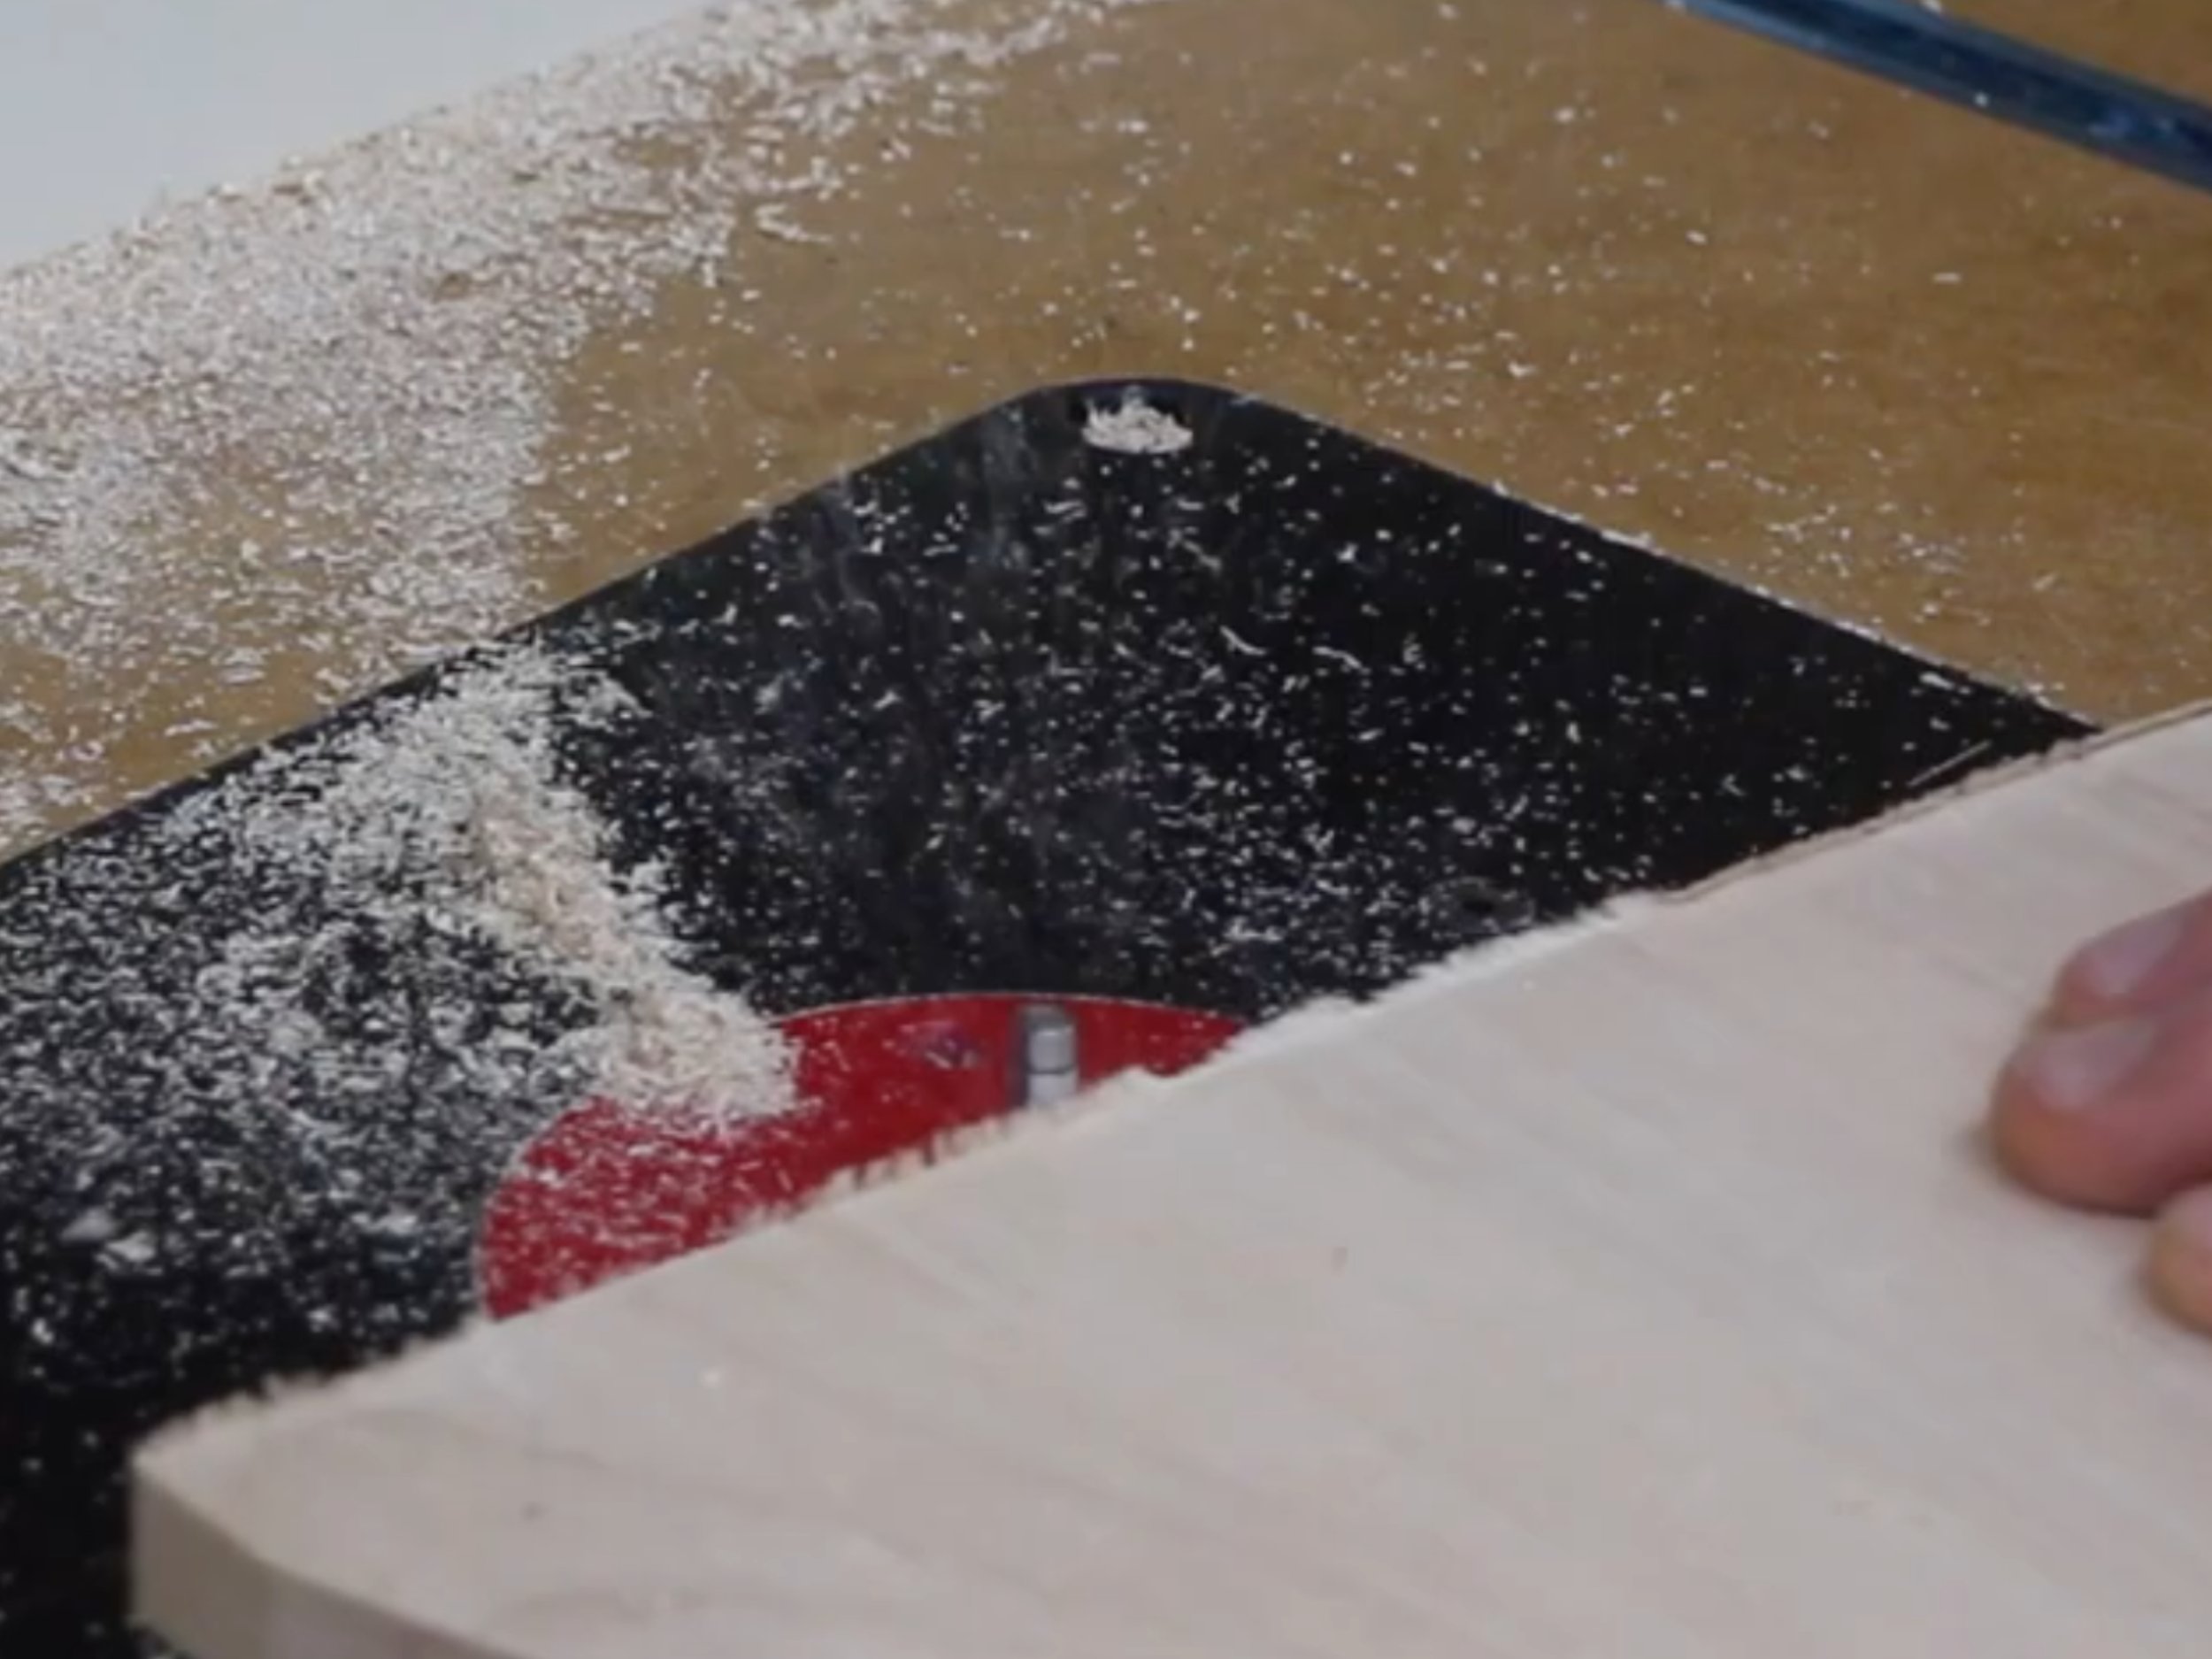
I begin by cutting pieces of Dark Walnut down to rough length on my miter saw, and rip the boards down to rough width on my table saw.


The milling process begins by flattening one side on the jointer, then planing the other face on the planer. Next, I go back to the jointer to joint the edges to ensure all faces are flat and 90-degrees to each other.


I applied glue to the edges of the pieces, spread the glue evenly, and get the pieces into clamps. I apply parallel clamps as well as clamps on the edges to keep the boards aligned with each other. After the clamps are tight, I let the assembly sit for awhile so that the glue can dry.


I now cut out the circle shape for the table top on my CNC router. After the cut is complete, I finish the cut and remove the tabs on my router table with a flush trim router bit.

I now begin sanding all of the walnut and maple pieces. I begin with 60-grit and work my way through the grits, all the way up to 220-grit.

I secure the maple panel to my CNC bed and cut out the shape of the table legs. There are 2 legs total.

I now finish the cut on the bandsaw to remove tabs and any missed material, the flush trim the tabs and clean up the edges with a flush trim router bit on my router table.

I now make sure I like the position and leveling of the table legs, and cut the center leg out on my bandsaw.


I now use a doweling jig to install a dowel and wood glue to connect the crossing table leg pieces together. I then let the glue dry.

I now use dowels again to join the table leg base assembly to the table top.

Once the glue has dried, I apply finish to the entire table. Once the finish dries, this project is complete!
