
Giant Sized Pocket Knife
This giant sized wooden pocket knife is made from Poplar and has a blade that opens and closes just like the real knife. This knife is made 10X scale and features all the details of the original knife!
Tools & Materials Used:
Palm Router https://amzn.to/37XCtJM
Wood Glue https://amzn.to/3dVtxsu
Flush Trim Router Bit: https://amzn.to/3sK2Smk
CA Glue: https://amzn.to/305Vfuj
Miter Saw: https://amzn.to/307gWtW
KREG Router Lift: https://amzn.to/3rgsAPd
DEWALT Cordless Jigsaw: https://amzn.to/31ewgFw
DEWALT Cordless Drill: https://amzn.to/3rsJ71T
Sanding Drum Attachments: https://amzn.to/3nU7tla
Hole Saw Kit: https://amzn.to/3EF8uV5
Belt Sander: https://amzn.to/3mIXdNg
Wipe On Poly: https://amzn.to/3wlZuBm
F-Clamps: https://amzn.to/2ZXSYV9
Forstner Bit Set: https://amzn.to/30nj5Fm
Random Orbital Sander: https://amzn.to/30lk9tN
Flush Cutting Saw: https://amzn.to/3FfgwnW
We are viewer/reader supported. When you buy through our links, we may earn an affiliate commission.

This project starts with a little computer work of blowing up a picture of the original knife, tiling it down to individual 8.5”x11” sheets of paper. Once printed, I tape the edges together so that I have a large picture of the outline of the knife.

Once all pieces of paper are glue together, I cut out the outline of the knife with a utility knife.

Once I know the approximate size of each section of the knife, I rough cut some Poplar at the miter saw.

I now plane down the material at the planer to get it to the appropriate thickness and ensure it’s flat on both sides.

I then trace out the knife handle’s final shape from my paper onto the poplar piece of material.

Next I cut out the handle’s rough shape at the band saw.

I sneak up to my traced line at the belt sander so I can reach the perfect final shape.

Once one side of my knife handle is finalized with it’s shape, I trace out the shape on another piece of Poplar as I will need a handle for each side of the knife. I then rough cut out the second handle at the bandsaw.
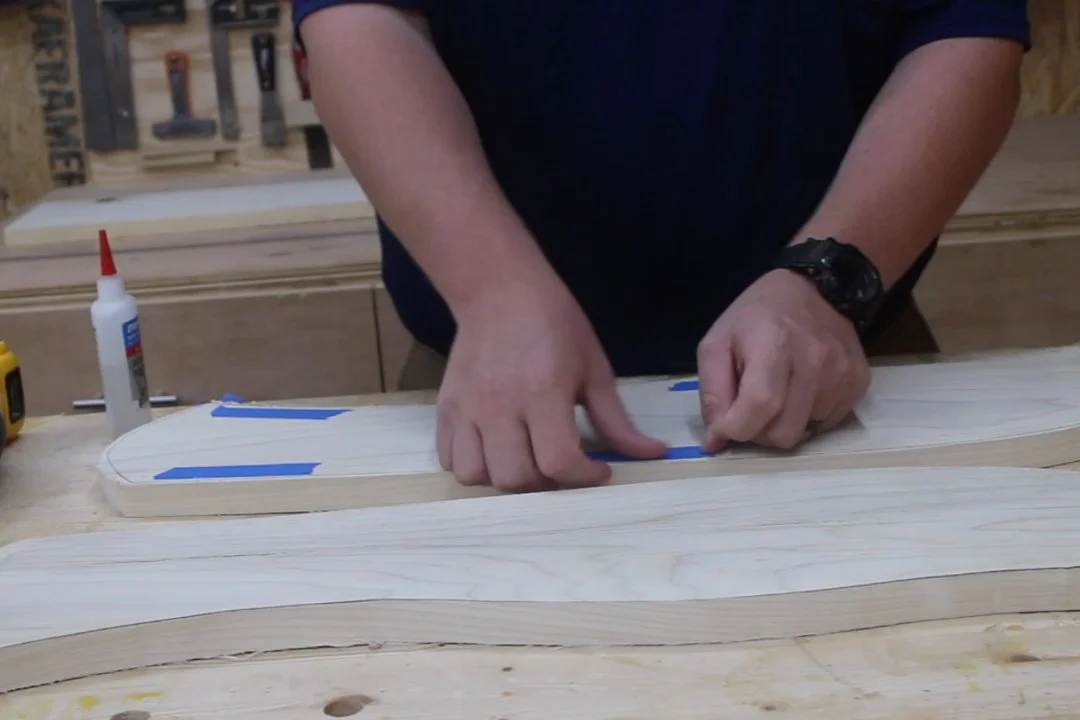
I now add some blue tape with CA glue on each piece of the knife handles and temporarily glue them together.

I then head over to the router table with a flush-trim bit and trim the second piece to ensure it is an exact copy of the original piece. This gives me both sides of the knife handle and ensures they match completely.

I now trace out the knife blade portion onto another piece of Poplar.

For this piece of the blade, I cut out the rough shape with my cordless jigsaw.

I now line up the blade and both sides of the knife handle and drill out the pivot pin and assembly pins (which will be 1 inch dowels) through all 3 pieces. I do this with a forstner bit at the drill press.

I now put a hole saw bit into the drill press and cut out the 2-inch hole at the back of the saw (where a lanyard or cord would be) to match the original knife.

I now use my belt sander to shape the knife blade. I sand down each side and make the blade as straight as possible while giving the appearance that is has been sharpened.

I now cut out the knife “clip” shape with my jigsaw.

I then resew this piece of material at my bandsaw so make it thinner to match the proportionately sized piece.

I then plane down the material to sneak up to the final thickness and remove any bandsaw blade marks.

I now use my palm router to put a 1/4” roundover on the pieces of the knife handle and the top of the blade.

I now use my random orbital sander to sand the insides of the knife handles and both sides of the blade. These will be areas I cannot reach to sand once the glue up is complete, so I do them now. I start at 80-grit and work up to 220-grit.

Time for glue up. I use Titebond Wood Glue to glue the 1-inch dowel rods (pegs) into each drilled hole in each of the knife handle pieces. I slide the blade over the pivot peg while working on the glue up, but ensure no glue actually touches the knife blade piece, as I need the blade piece to swing open freely.
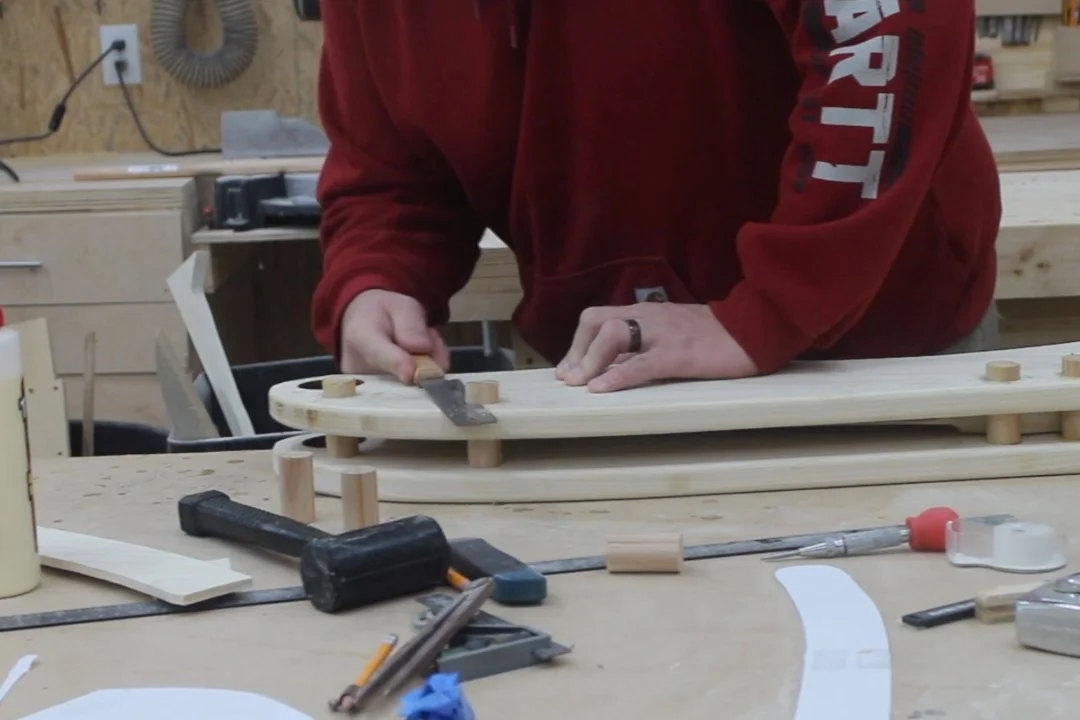
I use a flush cut saw to cut off the excess portion of the dowel rods, so that they are flush to the handle pieces.

I now glue a spacer and the knife clip pieces onto the back of the knife. I glue this on top of the pivot peg to give a cleaner appearance and center the clip.

While the glue on the clip is drying, I use a sanding drum attachment on my cordless drill to clean up and sand the burn marks inside the rear hole that was a result of my hole saw bit.

I now sand all pieces of the knife using my random orbital sander. I start at 80-grit and sand all the way to 3000-grit. While this is a bit overkill, it gives the knife an extremely smooth texture. Once sanded, I applied 2 coats of wipe-on poly, sanding with 220-grit between each coat.

This project is now complete. Though it serves no practical purpose, I thought it was a super cool project to make!